Camp Kitchen Countertops: Materials That Last
By Nadia Okoye • 3rd Mar
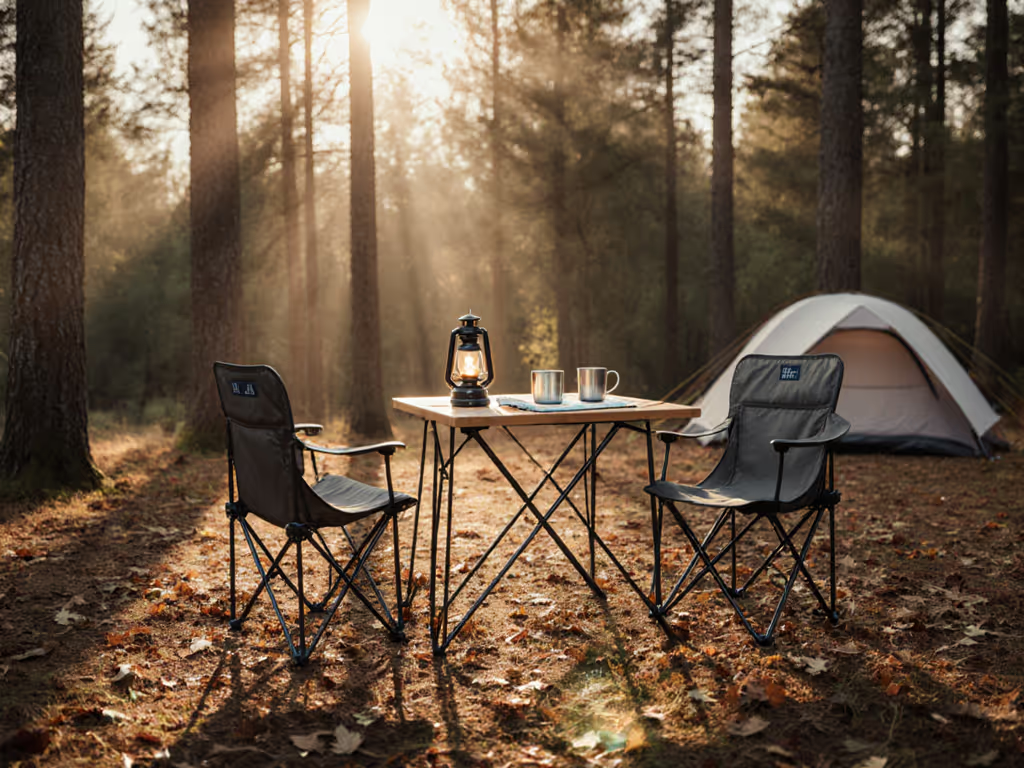
When you arrive at camp after a three-hour drive with overtired kids, a cooler full of perishables, and thirty minutes of daylight left, your camping kitchen tables aren't just a place to set down a stove. They're your anchor, the first surface you touch, the platform that sets the tone for whether dinner prep feels calm or chaotic. The right outdoor kitchen camping surface, chosen thoughtfully and staged first, can transform that scramble into a five-minute sequence that steadies everyone's mood. To choose a platform that matches your cooking style, see our dedicated vs modular camp kitchen tables comparison.
I learned this the hard way. We arrived at dusk with twins and rising wind. I scripted a five-minute camproom: windbreak table first, cots staged, chairs clipped together. The kids settled with snacks while stakes went in. That night convinced me of this: choreograph setup, and the whole weekend slows down. But only if your table doesn't wobble on uneven ground, and only if its surface won't splinter or stain after a season of camp meals.
Choosing a durable kitchen surface means understanding what each material actually does in field conditions (not showroom conditions). This guide walks you through the most practical outdoor surfaces for camping, how to assess them against your specific terrain and trip style, and a step-by-step system for selecting and staging the right table for your crew.
Why Material Matters: Beyond Looks
A camping table isn't furniture; it's infrastructure. It holds breakfast, props up a camp stove, anchors your social space, and takes wind, sun, sand, and careless weight shifts. Weather-resistant countertops designed for permanent outdoor kitchens offer lessons for portable camp gear, even though the constraints are different.
When you're choosing a portable camping kitchen sink setup or prep surface, durability matters because:
- You can't refinish it on-site. If the surface fails mid-trip, you're cooking on a cooler lid or the ground.
- Weight and packing volume are real. A material that's beautiful but heavy or bulky won't fit your vehicle plan, and won't get used.
- Moisture and temperature swings are extreme. A camp surface cycles from damp morning dew to direct sun heat in hours, with wind and sand as bonus stressors.
- Repair access is nil. No local hardware store or craftsperson. Bring backups or accept the loss.
- Kids and pets use it without asking. A low surface means sticky hands, spills, and impacts that reveal whether your choice forgives chaos.
The foundation of a social, safer camp begins with a table that holds steady and cleans easily, because stress compounds when dinner setup becomes a project.
Step 1: Map Your Use Case and Constraints
Before you compare materials, nail down your specific constraints. This filters your options and saves you from buying something beautiful that doesn't fit your reality.
Assess Your Terrain
Where do you camp most often?
- Sand or beach: Legs sink, wobble, and saltwater corrodes bare metal (see saltwater furniture care to prevent rapid corrosion). You need feet with wide, shallow footprint or adjustable height.
- Rock or hardpan: Uneven, rigid ground reveals leg length mismatches. Leveling feet or shims are critical; porous materials that absorb salt spray deteriorate faster.
- Forest or grass: Moisture underneath, dew buildup on fabric, and organic debris. Non-porous surfaces and materials that dry fast are safer and cleaner.
- Desert or arid: UV exposure and temperature swings are intense. Materials that fade or crack under thermal stress show weakness quickly.
Measure Your Vehicle and Setup Window
- Pack volume: Can a folded table fit your trunk with a cooler and water carboy? Bulky materials eliminate other priorities.
- Setup time: Do you arrive in daylight? A 20-minute assembly becomes impossible at dusk. Simpler materials (single slab) beat modular multi-piece designs if speed matters.
- Skill required: Can a tired 12-year-old unfold it? Or do you need two adults and a diagram?
Define Your Group and Duration
- Solo or couple: A compact 24" × 36" table, lightweight, is enough. A family of four needs 48" minimum, plus a side prep surface. A group of six needs 72" or two smaller tables.
- Weekend (2-3 nights) vs. basecamp (week+): Longer trips expose durability gaps and justify premium materials. Weekend trips are more forgiving.
- Kids or pets present: Soft edges, non-toxic finishes, and stable legs non-negotiable. Wobbly surfaces around young children create hazards.
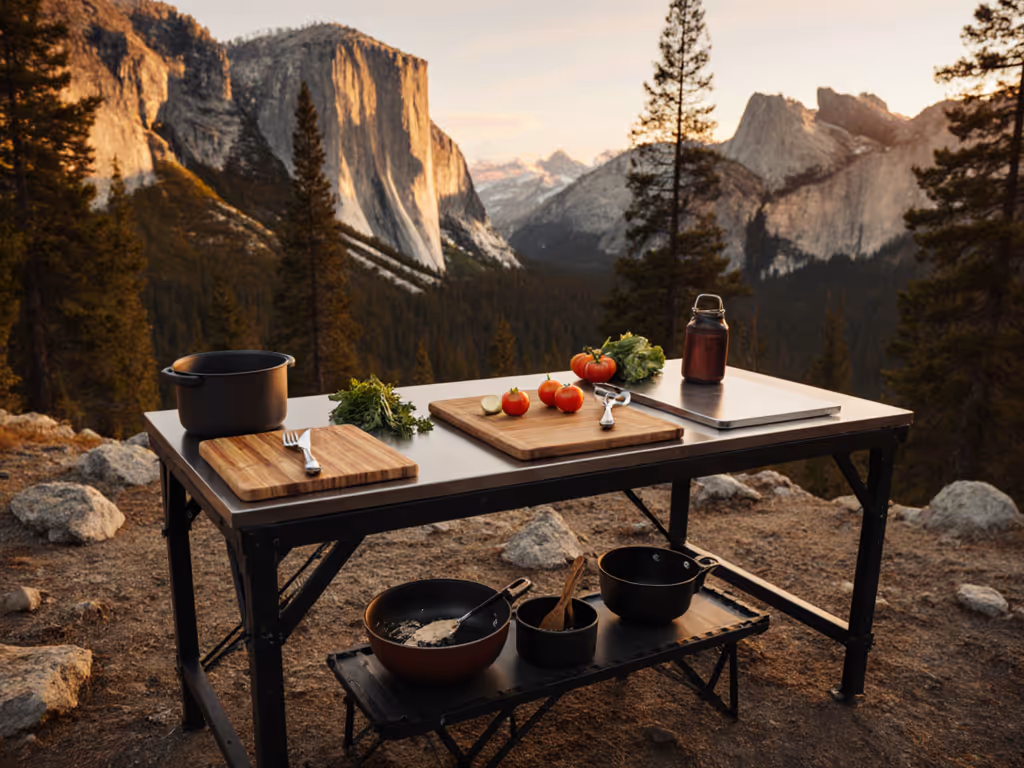
Step 2: Evaluate Core Material Classes for Camping
The research on outdoor kitchen countertops highlights five material families. Here's how they adapt to camping priorities:
Natural Stone: Granite and Quartzite
Durability: Granite and quartzite are both extremely hard and UV-resistant. They won't fade in sun and handle high heat without cracking.
Camping realities: Heavy. A 4-foot granite slab weighs 100+ pounds (impractical for portable setups). Quartzite is pricier and porous, requiring annual resealing to protect against staining. Both crack if a leg settles unevenly on rock, and matching repairs in the field are impossible.
Best for: Fixed basecamp setups (cabin sites, established RV loops) where weight and immobility aren't constraints. Not typical camping.
Sintered Stone
Durability: Sintered stone, such as Lapitec®, is engineered by combining natural minerals into a non-porous, scratch-resistant, antibacterial surface that resists weather effects.
Camping realities: Durable and low-maintenance, but custom-fabricated slabs are expensive and heavy. Mainly used in permanent outdoor kitchens, not portable camp tables.
Best for: Luxury glamping setups with dedicated prep tables that don't move season to season.
Porcelain and Engineered Quartz
Durability: Porcelain is non-porous, etch-resistant, handles temperature extremes, and is UV-resistant (it won't fade). Engineered quartz (composed of quartz crystals and resin) is stain-resistant, scratch-resistant, and heat-resistant.
Camping realities: Lightweight compared to stone. Porcelain tiles can chip under hard impact or if a leg lands wrong on rock. Engineered quartz slabs are typically custom-fabricated and expensive. Practical only for premium camp setups or as removable countertop inserts (e.g., a porcelain tile glued to a lightweight plywood base).
Best for: Basecamp kitchen kits where the surface stays in one location and can tolerate the cost premium.
Concrete
Durability: Concrete is durable and can be stained any color. It resists heat and weather.
Camping realities: Requires sealing to stay waterproof and prevent stains. Porous surface absorbs liquids and collects grime in camps with high moisture (near water, rainy regions). Cracks appear over time under thermal stress. A poured concrete tabletop is impractical; only relevant if you're building a semi-permanent camp structure.
Best for: Permanent outdoor entertaining spaces, not camping.
Soapstone
Durability: Soapstone is non-porous, low-maintenance, highly heat-resistant, and weatherproof. It cleans with just soap and water.
Camping realities: Soft material; scratches easily under normal use but buffable with sandpaper. Heavy and fragile during transport. Beautiful, but the maintenance liability (frequent buffing) makes it impractical for camp gear that sits in a truck bed.
Best for: Permanent installations, not camping.
Laminate
Durability: Laminate is budget-friendly, stain-resistant, and easy to clean. Modern laminates mimic stone or wood convincingly.
Camping realities: Susceptible to scratches and heat damage. You must use trivets and cutting boards to prevent damage. Thin, prone to delamination if it absorbs moisture or if glue fails at seams. Lightweight and packable, though, a real advantage. Good for basecamp tables you're willing to retire after a season or two.
Best for: Budget builds, festival camping, or temporary setups where durability past one season is bonus, not expected.
Step 3: Prioritize by Camp Scenario
Instead of chasing the "best" material, match material to your actual trip pattern. Here's the sequence:
Weekend Trips, High Turnover (Most Campers)
Your priorities: Fast setup, lightweight, compact packing, forgiving to spills and bumps.
Material choice: Laminate or porcelain-tile composite. A lightweight plywood base (3/4" birch) with porcelain tile glued to the top balances durability and weight. Or laminate on plywood for the lowest cost and easiest transport. Seal plywood edges to prevent water infiltration.
Setup: Foldable base with hinged legs. Pre-attach the surface so no separate assembly is needed. Pack flat.
Multi-Week or Seasonal Basecamp
Your priorities: Durability through repeated cycles, easy cleaning, stable in wind, enough prep area.
Material choice: Engineered quartz or premium porcelain if budget allows. Soapstone if you're willing to buff scratches. Seal everything and include touch-up materials.
Setup: Fixed installation on a heavy, wide-legged table frame. Tie-down points for wind. Side tables for staging and storage.
Families with Kids; Sand, Water, or High-Mess Environments
Your priorities: Non-toxic, easy cleanup, forgiving of impact, replaceable if damaged.
Material choice: Porcelain tile (non-porous, wipeable) over a sealed plywood base. Laminates are acceptable if edges are sealed and reseal is quick. Avoid soapstone (fragile) and raw concrete (absorbs mess).
Setup: Stainless steel frame or powder-coated steel legs. Clipped tie-downs if wind is common. Shallow sink integrated or mounted nearby for rinse station.
Step 4: Size, Height, and Stability
Once you've chosen a material, dimension your table to match your group and seating.
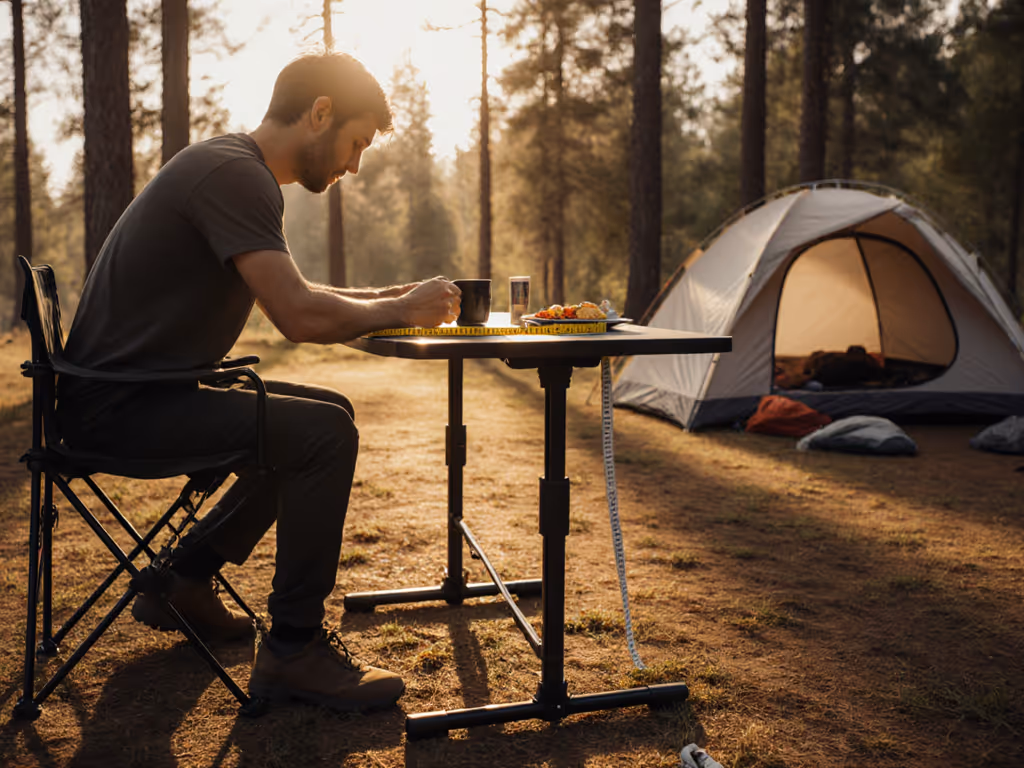
Table Height and Chair Pairing
The most common ergonomic mistake: mismatched table and seating heights. Use our ergonomic camping table height guide to dial in seat-to-table distance without guesswork. Sit in a camping chair you own and measure from ground to seat top. Standard camping dining chairs sit 16-17" high. A standard table is 30" high, creating an awkward 13-14" gap.
Sequence: Measure your chair seat height first. Then order or build a table 10-12" taller than the seat top, so your knees fit under the edge with 2-3" clearance.
Surface Footprint
Per adult, allow 24" of table width for place settings and prep. A couple needs 48" minimum; a family of four, 60-72"; a group of six, 72" or two 48" tables. A side prep table (30" × 24") is essential if the main table is also your dining zone.
Leg Stability and Terrain Fit
Wobbly tables are the fastest way to erode group morale. Before you buy:
- Measure the ground: Is it level? (Rarely.) Do you have shims or adjustable feet? (Critical.)
- Check leg design: Wide, splayed legs are more stable on uneven ground than straight legs (our stability-tested folding tables show which frames resist tipping). Feet with wide, shallow contact (not pointy) resist sinking into sand.
- Test load rating: Manufacturers often overstate capacity. A 300-pound rating on a camping table with thin legs can fail under real load (four adults leaning on the edge, a hot stove, spill cleanup pressure).
- Wind bracing: In windy camps, look for tables with cross-bracing or tie-down points built into the frame. A beautiful unsupported slab is a kite waiting for a gust.
Step 5: Material-Specific Maintenance and Seal Schedules
Even durable materials degrade if you skip maintenance. Build a seal calendar into your prep checklist. When the season ends, follow our off-season camp furniture storage guide to prevent moisture, mold, and UV damage between trips.
Porcelain: Non-porous, minimal maintenance. Wipe after each meal. No sealing required.
Engineered quartz: Non-porous. Wipe and dry. No sealing.
Laminate: Clean with mild soap and dry immediately. Reseal edges yearly or if cracks appear.
Granite, quartzite, soapstone: Reseal once a season if exposed to rain or saltwater.
Concrete: Seal before first use and annually. Prevent standing water.
Sintered stone: Non-porous. Wipe and dry only.
Keep sealer, touch-up resin, and sandpaper in your camp kit. A 15-minute seal refresh mid-season extends life significantly.
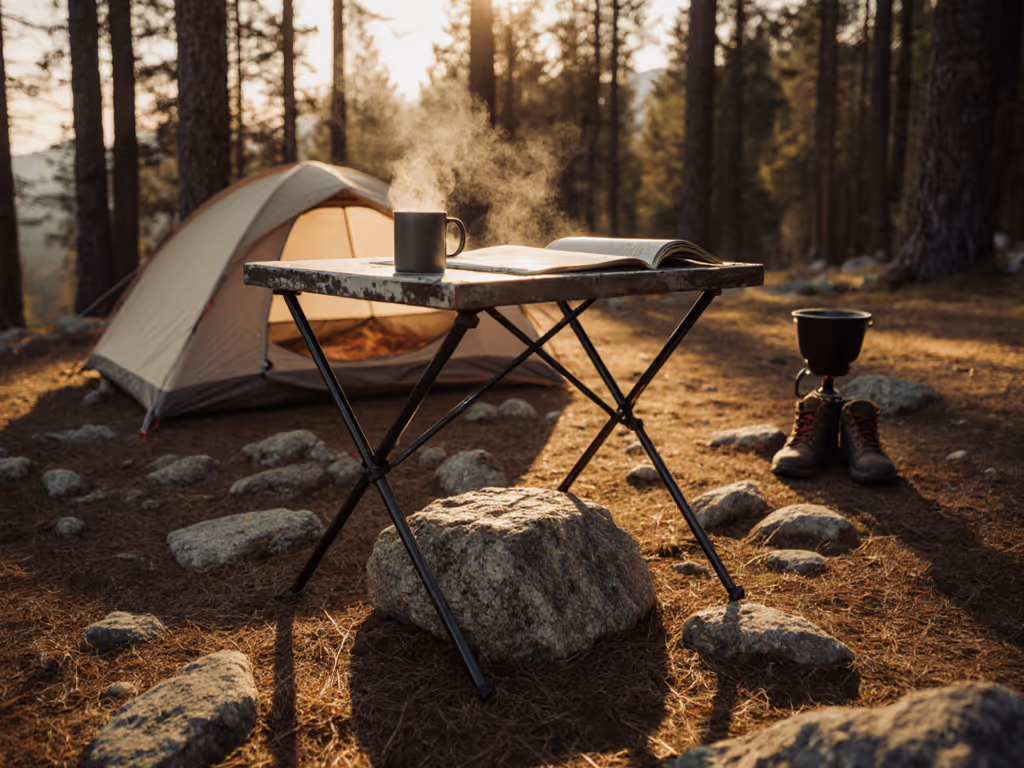
Step 6: Stage Your Setup Choreography
Now that you've chosen your table, script the setup sequence so arrival stays calm.
The Five-Minute Camproom
- T+0:00 - Unload table and two side tables first. Orient to wind (narrow edge into prevailing wind).
- T+1:30 - Secure legs, level with shims, and tie down if windier than 12 mph.
- T+2:00 - Unfold or deploy chairs in a rough circle. Check seat-to-table height alignment.
- T+3:00 - Clip tablecloth if using; stage serving items and spice kit.
- T+4:00 - Set water station (sink, rinse pitcher, towels) to one side. Position cooler adjacent.
- T+5:00 - Light checks: headlamp or string lights overhead if dusk.
This sequence prioritizes the kitchen zone first because a functioning prep table with water access is the calm anchor that lets everything else happen in parallel.
Wind-Proofing Your Material Choice
Wind doesn't just knock things over; it exposes weaknesses in material and fastening. If you're camping in predictably windy regions:
- Choose a material with some weight (porcelain, granite, concrete) so wind alone won't lift it.
- Install tie-down points (bolted D-rings or webbing loops) on the frame.
- Use felt or rubber feet that grip sand or rock; metal feet slide.
- Avoid loose tablecloths; use clips or drop weighted magnets every 12".
Actionable Next Steps
Campground arrivals are high-stress moments. The material you choose for your camping kitchen tables dictates whether you're scrambling or steering.
This week:
- Measure your most-used camping chair from ground to seat top.
- List your three most-common camp scenarios (weekend beach, multi-week basecamp, family with kids, etc.).
- Note your vehicle's trunk dimensions and typical packing load (cooler, water, stove, seating).
- Pick one material that matches your scenario and budget.
Before your next trip:
- Source or build your table with that material.
- Test the setup sequence at home. Time it.
- Measure seat-to-table clearance and adjust height if needed.
- Add maintenance items (sealer, shims, tie-downs) to your camp supply kit.
- Photograph your five-minute camproom setup so you have a visual checklist for future trips.
A table that lasts isn't one that looks untouched after a season; it's one that holds steady through wind, absorbs spills without panic, and gets you fed and social within five minutes of arrival. When that happens, the whole weekend slows down, and your crew notices the difference.
Related Articles
Camping Tables & Surfaces
Ergonomic Camping Tables: Verified Height Fit Solutions
Match table height to chair seat using a 10–12 inch differential to keep posture relaxed and meals comfortable. Then use the verified dimensions and checklist to choose adjustable, stable tables that fit your group, terrain, and trunk space.
Camping Tables & Surfaces
Folding Camping Tables That Won't Tip: Stability Tested
Get practical steps to pick and stabilize a folding camping table that stays put: terrain-specific fixes, real-world capacity tests, and a five-minute arrival sequence. Prevent spills, improve safety, and save time even on uneven, windy sites.