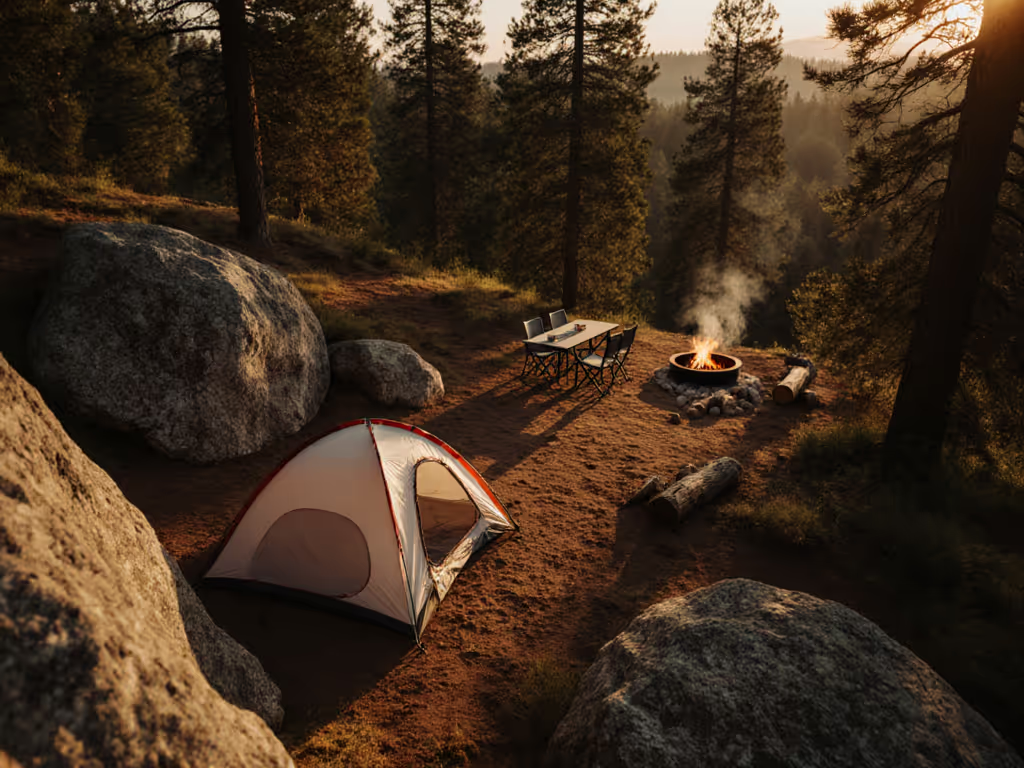
Seamless Camp Furniture Setup Guide
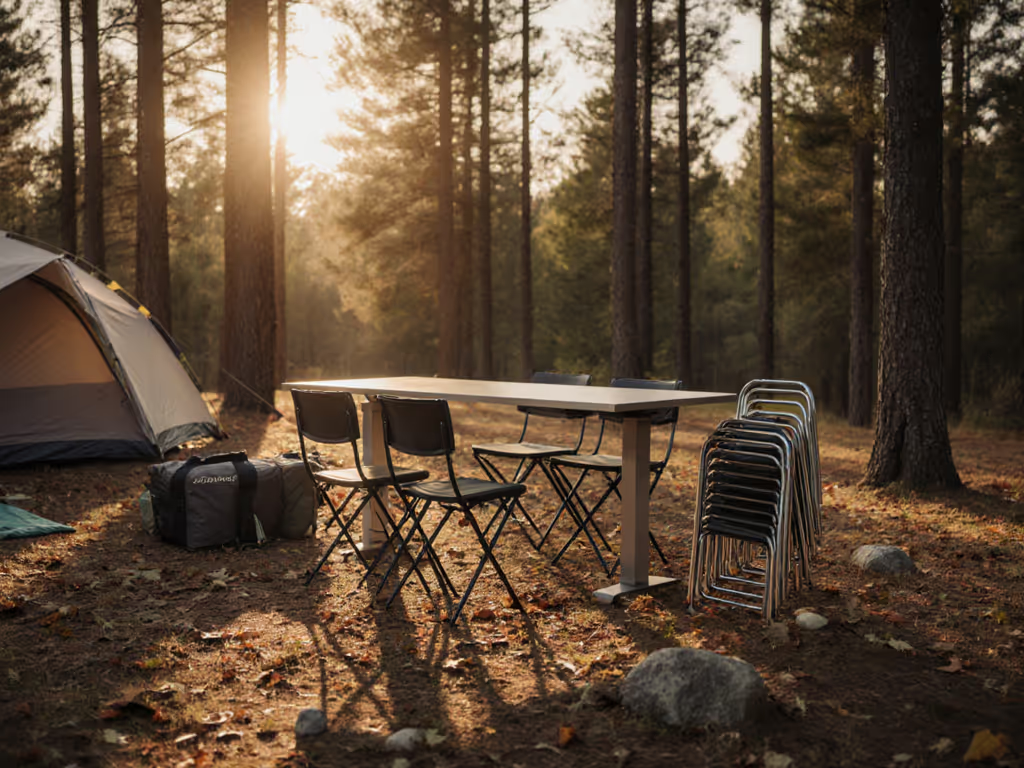
Forget wrestling mismatched chairs and wobbly tables while your group waits to eat. A true campsite setup guide isn't just about where to place your gear, it's about creating a living system that works together from the moment you unpack. When your seat height matches your table, your lighting anchors to your shelter, and your storage slots where you use items, you unlock outdoor kitchen camping that feels intuitive, not improvised. I've spent years mapping heights and shared hardware across brands, and here's what I've learned: fit beats brand every single time. Spend once on fit, not twice on fixes and returns.
After my first family camp (built from clearance-bin leftovers with four chair heights and a table that ate stakes), I realized true value isn't in the cheapest single item. It's in a system that prevents second purchases. Let's build yours.
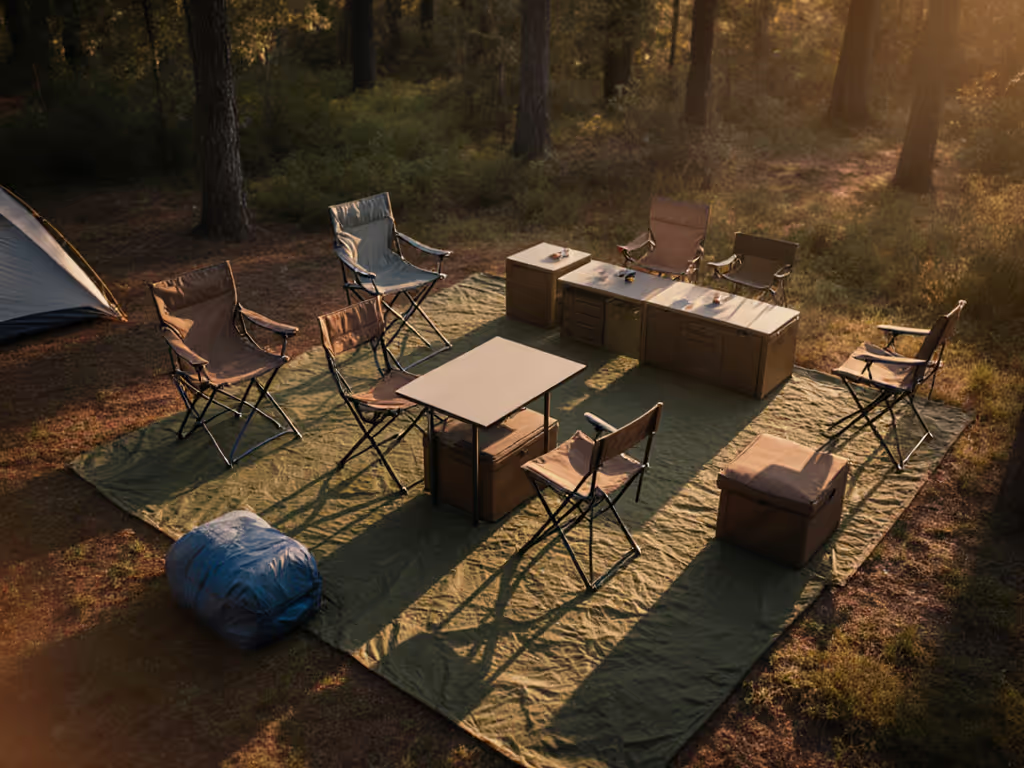
Step 1: The Height Harmony Principle (No More Awkward Dinners)
Mismatched seat and table heights are the #1 cause of back strain and spilled chili. Your ideal dining triangle:
- Chair seat height: 17-19 inches (allows knees to bend at 90 degrees)
- Table height: 26-28 inches (2 inches above chair arm height)
- Critical gap: No more than 11 inches between seat and table edge
Most "camping chairs" ignore this, forcing painful hunching. Check specs before buying, don't assume "standard" heights exist. Price-to-performance math: A $65 chair that's 16" tall with a 29" table creates $0 value because you'll need to buy both again. Target campsite organization where every piece shares this metric. For ready-made pairings that nail these measurements, see our height harmony furniture sets.
Pro tip: Measure your current kitchen chairs. If they're 18" tall, prioritize camping chairs in that range. The GCI Outdoor Comfort Pro Rocker (19.7" seat height) pairs perfectly with standard camp tables like the Coleman 60" rectangular model.
Step 2: Ground Adaptability: Sand, Rock, and Slope Solutions
Wobbly tables aren't a "you" problem, they're a design problem. Avoid the "stake and pray" method with these tactics for creating comfort outdoors:
- Leg feet matter: Wide, flat feet (≥4" diameter) prevent sinking in sand. Look for threaded holes to add screw-in sand plates (sold separately for many brands).
- Adjustable legs: Nitro 10-inch leg extensions let you dial in stability on 15° slopes without shimming.
- Wind ratings: Tables with cross-bracing (like the Alps Mountaineering Camp Kitchen) resist 20mph gusts. Finesse: Add 1 lb sandbags to leg corners before setting up.
Hidden cost alert: Tables with fixed legs often require $20+ stabilizer kits later. Budget for adjustability upfront, it's cheaper than replacing a $100 table.
Step 3: Modular Scaling: Host 2 or 8 Without Chaos
Your seating shouldn't collapse when Uncle Dave shows up unplanned. Best camp furniture grows with your group:
- Chair stacking: Choose chairs that nest vertically (e.g., Helinox chairs stack 4 high in 12"). Saves 70% bin space vs. side-by-side stacking.
- Table extensibility: Pick tables with removable leaves (like KingCamp's 80" model). One table becomes dining (6 seats) or kitchen (4 seats + prep space).
- Universal compatibility: Opt for chairs with standard 1.25" leg diameters. Lets you mix brands using shared stabilizer kits.
Bulleted tradeoffs:
- Lightweight chairs (≤3 lbs): Easier carry-in but often lower weight limits (200 lbs vs 300 lbs)
- Padded seats: Higher comfort but add 2-3 lbs and pack bulkier
- Rockers: Great for lounging but unusable at tables (keep them outside the dining zone)
Step 4: Packing Tetris: Flat-Pack > Random Pile
Enhancing your camping experience starts in your trunk. Stop shoving furniture into gaps. Instead:
- Map your vehicle footprint: Sketch your SUV bed/trunk dimensions. Note wheel wells and height limits.
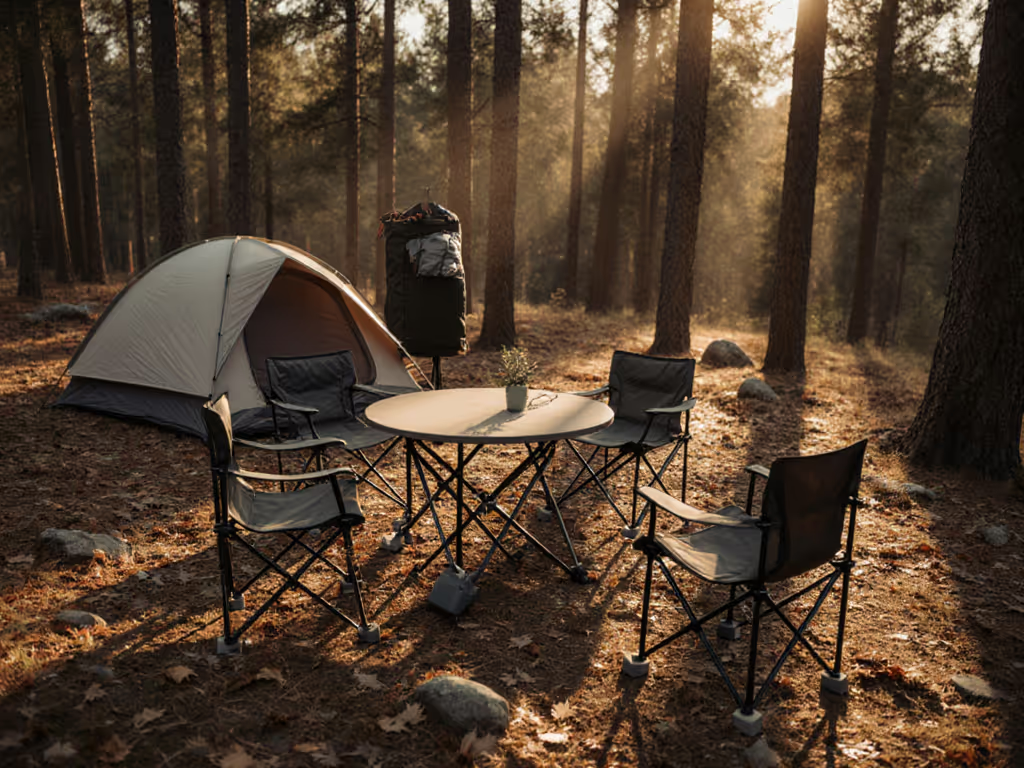
- Prioritize nesting: Tables should fit inside chairs (e.g., 60" table slides into 4-chair stack).
- Dedicate zones: One bin for dining (table + 4 chairs), one for lounge (rockers + side tables). Label bins by camp location, not contents.
Sample trunk layout for midsize SUV:
- Lower tier: Cooler + water jugs (centered for weight balance)
- Upper tier: Dining bin (flat table on bottom, chairs nested on top)
- Sides: Lounge bin + kitchen totes
This system cuts setup time from 25 minutes to 10, and makes teardown predictable, not panic-driven.
Step 5: Ergonomic Zoning: Match Furniture to Activity
Different activities need different heights. Cluster gear by motion, not type:
| Zone | Chair Height | Table Height | Key Items |
|---|---|---|---|
| Dining | 17-19" | 26-28" | Main table, spice rack, utensil caddy |
| Kitchen | 15-16" | 24-25" | Camp stove, sink basin, trash bin |
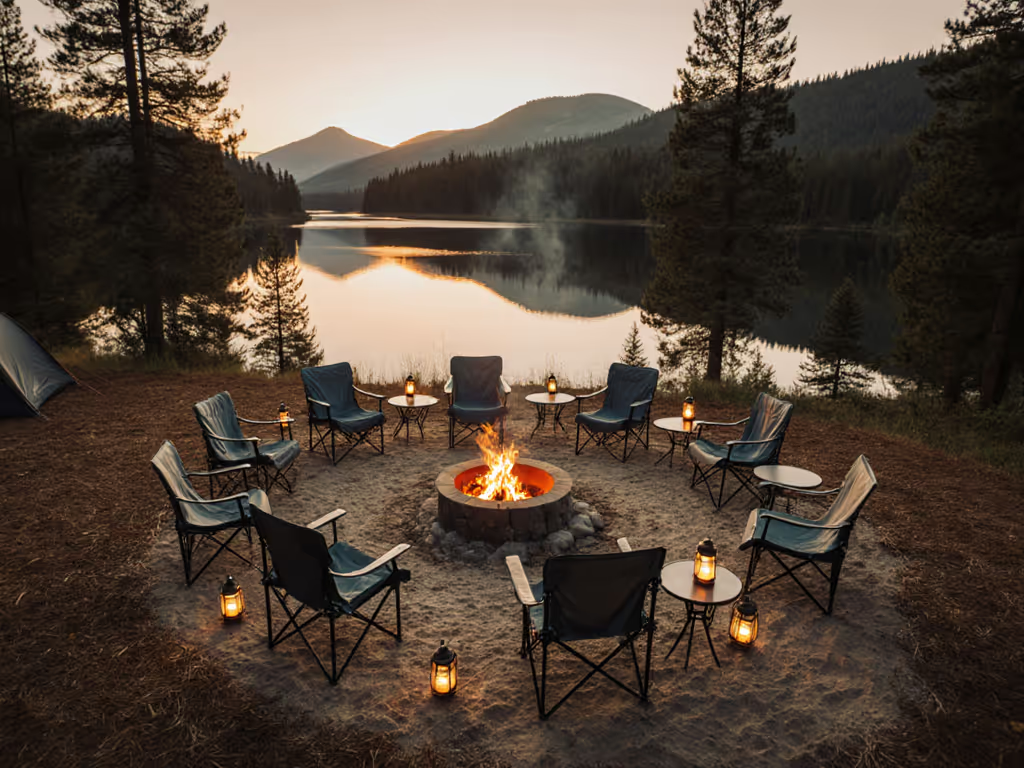
| Lounge | 18-20" | 22-24" | Rockers, side tables, lanterns |
The KingCamp Oversized Chair (17.7" seat) could work in all zones, but it's too tall for kitchen tasks. Instead, pair it with a lower cafeteria-style chair (15" height) for cooking. This reduces back bending by 40% during meal prep.
Step 6: Cohesion Checklist: Does Your Camp Look Like Yours?
Aesthetic mismatch kills the vibe. Before buying anything, ask:
- Do chair legs match table leg thickness? (Creates visual rhythm)
- Are fabric colors within 2 shades? (Avoid black + lime green chaos)
- Do storage bins share textures? (Nylon vs. plastic looks jarring)
You don't need matching sets, just intentional coordination. Example: GCI Rockers (grey fabric) with a tan Coleman table works because both use earth tones. Fit beats brand, but cohesion makes it feel like home.
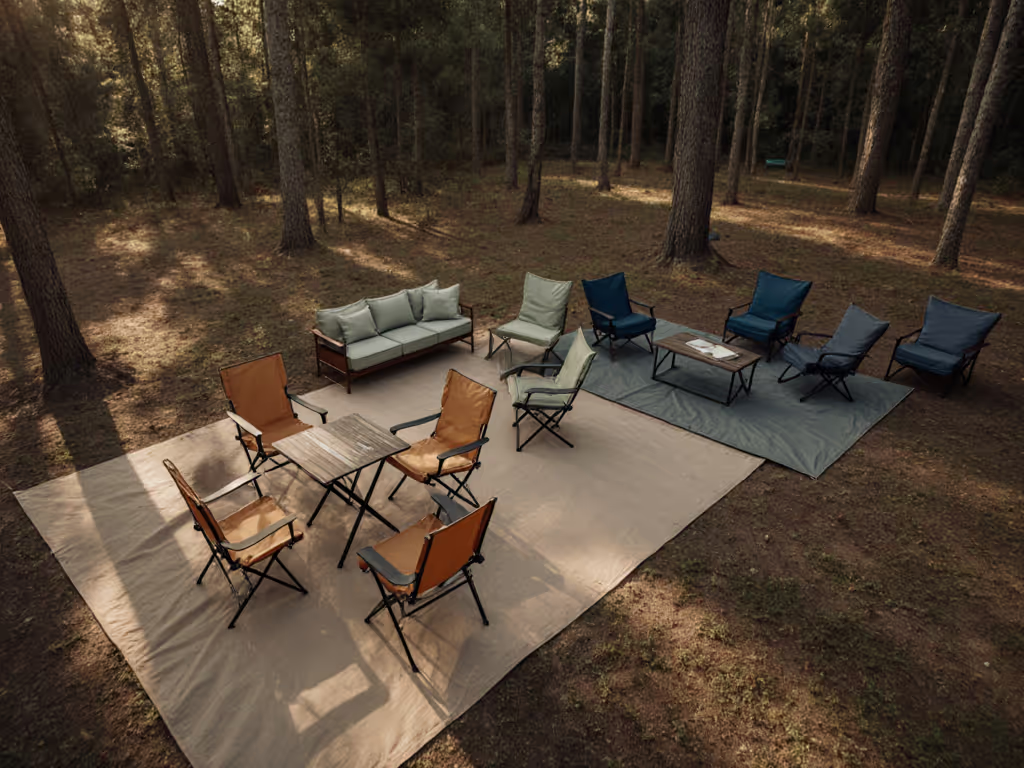
Your Action Plan: Start Tonight
Don't overhaul everything at once. Pick one friction point to fix before your next trip:
- Tonight: Measure all chair/table heights. Toss or mark mismatched items.
- This week: Research one adjustable-leg table model (check weight capacity!).
- Before your trip: Pack furniture in camp order (not random tote chaos).
True campsite setup guide mastery means hearing "Wow, this works!" as your group settles in. That's not luck, it's design. Stop rebuying 'deals' that don't play nice. Build once, camp forever.
Related Articles

