Best Cold-Weather Camp Furniture: Stay Off The Cold Ground
By Nadia Okoye • 5th Nov
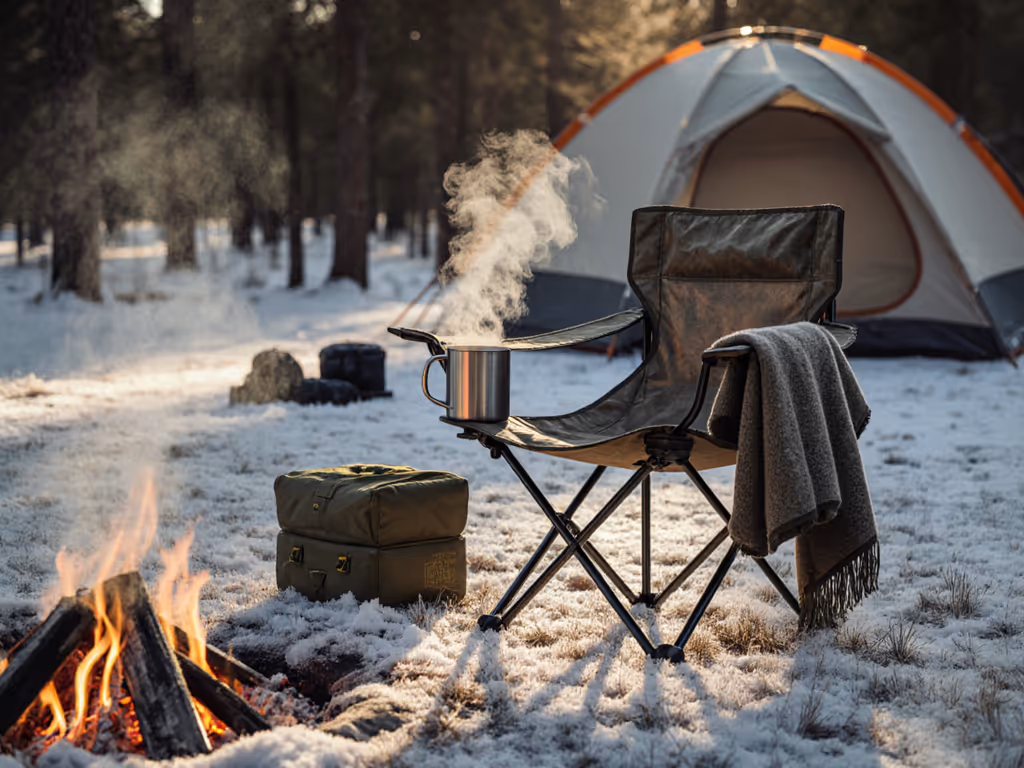
Forget shivering through breakfast; the best camp furniture for frigid conditions isn't just about warmth, but about intention. The right cold-weather camp seating creates a thermal buffer between you and frozen earth, while preventing that frantic scramble that ruins arrival energy. I have seen too many groups huddle on metal chairs, cursing as heat leaches from their bodies, when a 90-second sequence could've built a refuge. Your chair isn't just furniture; it's your first line of defense against campsite chaos. Choreograph setup, and the whole weekend slows down.
Why Standard Furniture Fails in Winter
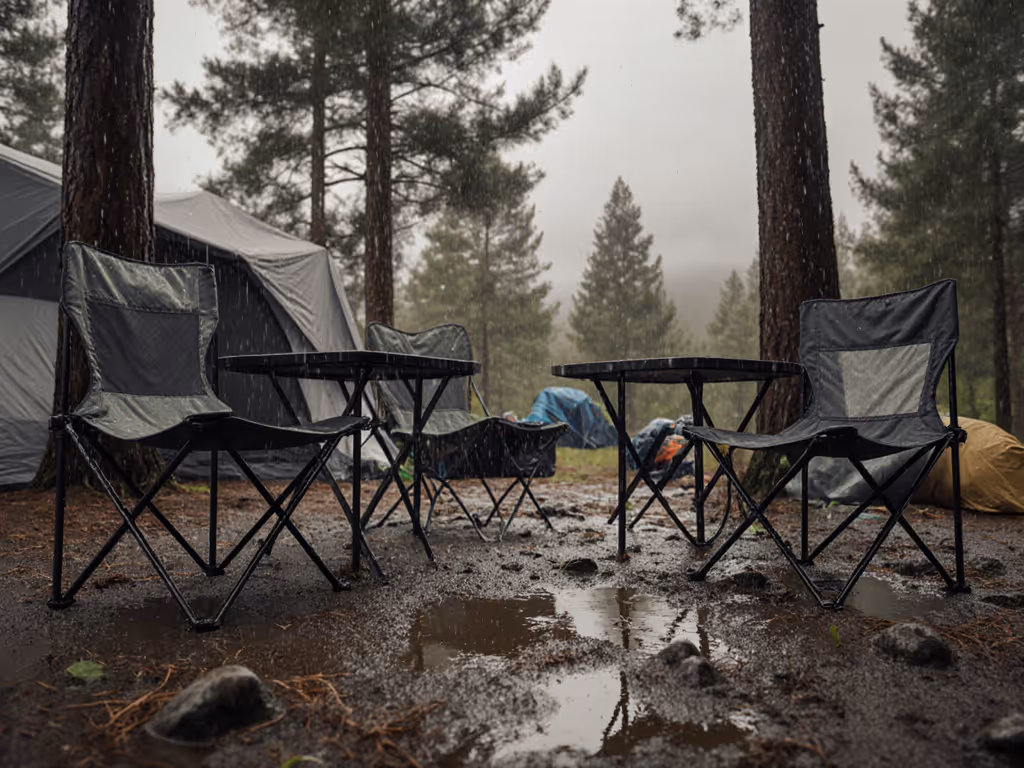
Metal legs sink into snow like ice picks, polyester seats turn clammy with condensation, and flimsy frames wobble on uneven, frozen ground. In cold weather, these flaws escalate into genuine discomfort and safety risks. That 'cozy' lounge chair with low seat height? Its sagging fabric becomes a heat sink when temperatures drop below 40°F. Wobbly tables mean spilled coffee and spilled morale, especially when kids or pets barrel through camp. And let's be honest: with stiff fingers and fading light, setup errors multiply. Camp chairs promising 'all-season' use often lack the thermal engineering your body craves when the thermometer dips.
Reduce cognitive load by treating your furniture system like a thermal layer. It's not just support, it's insulation.
The Cold-Weather Setup Sequence (Your 7-Minute Anchor)
Phase 1: Windbreak First (0-2 Minutes)
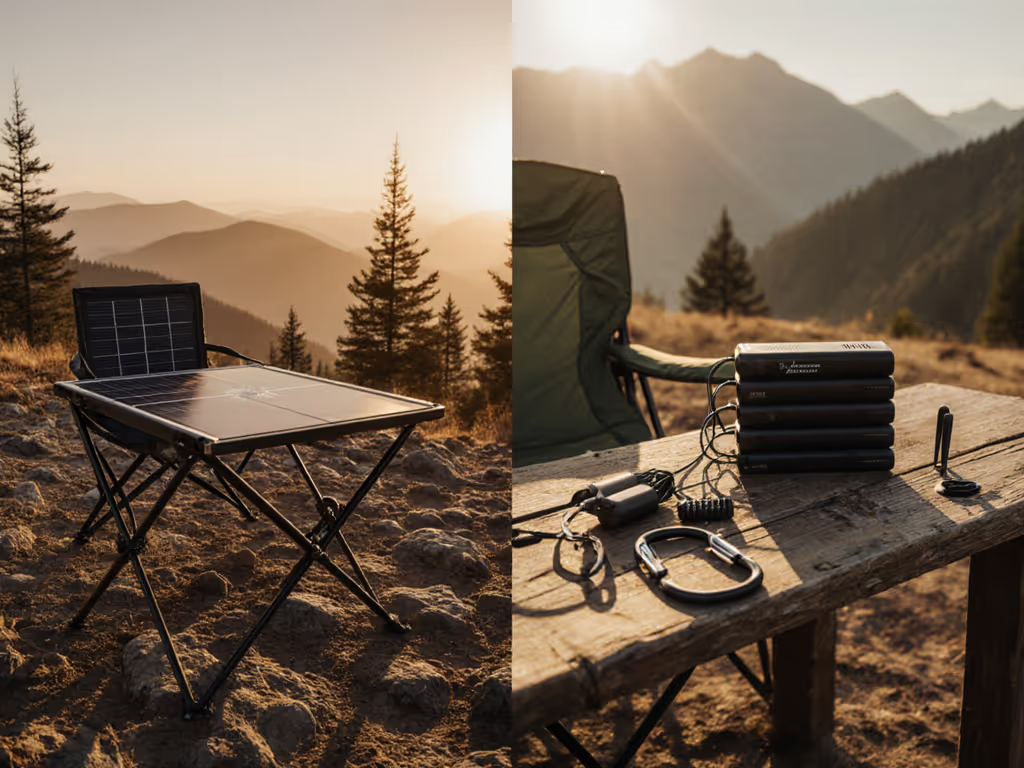
Facing your tent's entrance into the wind? Flip it. Position your largest table perpendicular to the wind direction as an instant barrier. Stake its corners before unfolding chairs, this creates a stable zone for the next steps. If winds exceed 15 mph, add sandbags (or rock-filled stuff sacks) to table legs. This prevents that panicked scramble when gusts transform your table into a kite. For product-tested picks that resist tipping in wind, see our stability-tested folding tables guide.
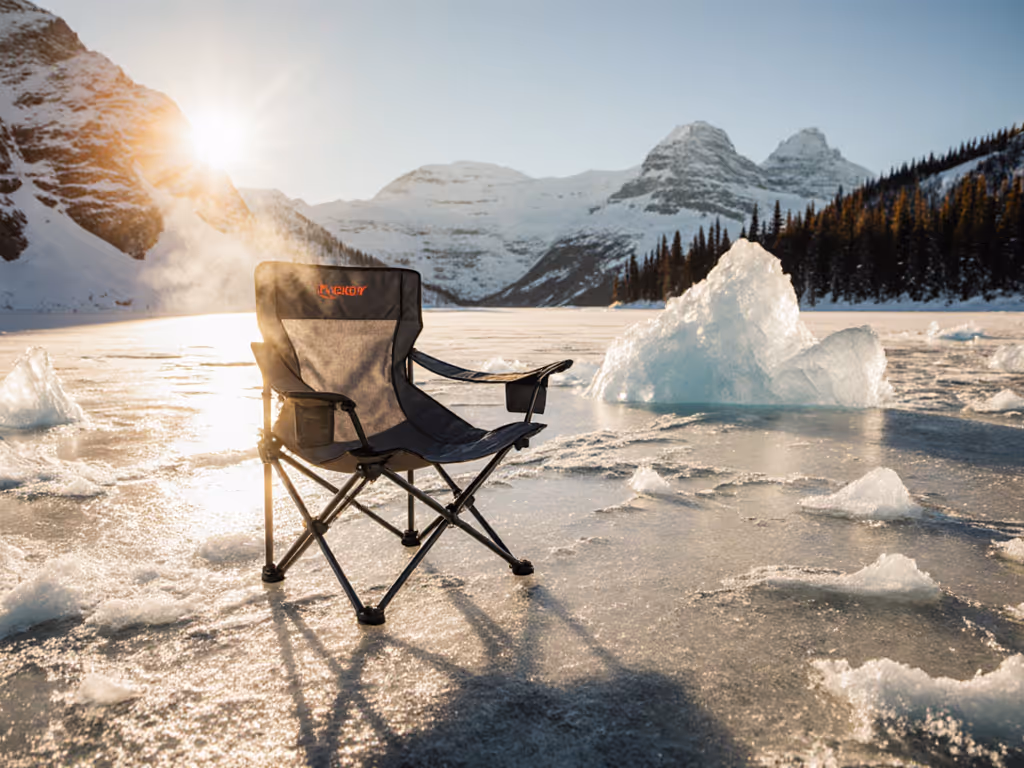
Phase 2: Heat-Retaining Seats (2-4 Minutes)
Unfold chairs inside the windbreak zone. Prioritize models with these cold-weather essentials:
- Thick, non-breathable fabrics (like 600D polyester) that resist moisture absorption
- Raised seats (18+ inches) to avoid ground chill
- Solid-back designs that block wind from the rear
Avoid chairs with mesh panels, they invite cold drafts. If you need cold-capable seating that won't fail in the field, start with our field-tested best camping chairs. Instead, look for padded seats that create an air pocket between you and the metal frame. I once arrived at a snowy site with overtired twins as wind gusted; placing our windbreak table first let us unfold chairs in shelter, then stage snacks while staking. That calm sequence became my blueprint.
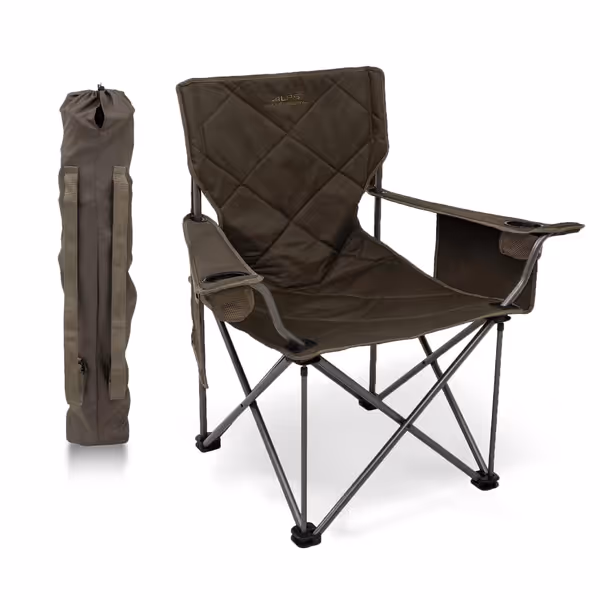
ALPS Mountaineering King Kong Camping Chair
Heavy-duty comfort and storage for all body types, built for camp life.
$87.99
Weight Capacity800 lbs
Weight Capacity800 lbs
Pros
Built like a tank: exceptional durability and stability.
Spacious and comfortable for all shapes and sizes.
Cons
Can be heavy for transport.
Customers find the chair built like a tank, with a wide seat that accommodates people of all shapes and sizes, and appreciate its storage pockets and cup holders.
Customers find the chair built like a tank, with a wide seat that accommodates people of all shapes and sizes, and appreciate its storage pockets and cup holders.
Phase 3: Safe Zones for Kids & Pets (4-7 Minutes)
Create boundaries before the chaos hits. Place chairs with wide bases (min 20" leg spans) at the camp's perimeter (less likely to tip if bumped). Position low-seating options (like camp stools) away from high-traffic paths. Clip chairs together with carabiners if wind threatens; this prevents the 'domino effect' when one topples. For toddlers, stage a dedicated 'snack station' on a low table within arm's reach, no more chasing spilled trail mix across icy ground. For pet-friendly layouts and durable picks, explore our pet-safe camp furniture guide.
Material Matters: Heat-Retaining Secrets
Not all fabrics play nice with cold. Prioritize these heat-retaining materials when shopping:
- Thick polyester (500D+): Slows conductive heat loss better than mesh or nylon
- Closed-cell foam padding: Doesn't absorb moisture like open-cell foam
- Powder-coated steel frames: Less heat-sucking than bare aluminum
Avoid chairs with exposed metal arms, your gloves will stick to them. For material trade-offs that affect cold performance and weight, see our aluminum vs steel vs composite frames breakdown. And skip 'cooling mesh' backs; they're counterproductive when frost forms. Instead, test seat materials by pressing your palm against them for 20 seconds. If it feels instantly cold, it'll sap your body heat all night.
Packing Your Cold-Weather Kit (The 3-Box System)
Box 1: Windbreak Anchor (Table + stakes + tie-downs) Box 2: Thermal Seats (Chairs + padded seat covers) Box 3: Safe Zones (Stakes for perimeter chairs + kid/pet organizers)
This car camping gear setup ensures you deploy critical thermal layers first. No more digging for stakes while teeth chatter. Nest chairs inside the table's footprint to maximize trunk space (no bulky 'Tetris fails' crowding out your hot cocoa stash). When you arrive, boxes 1 and 2 get you functional in 7 minutes; box 3 adapts to your crew's needs.
Why This Stops the Cold-Weather Spiral
A single unstable chair can trigger a chain reaction: spilled coffee → wet gloves → frantic searching for backup mittens → abandoned cleanup. But when your best camp furniture works as a system, you prevent that domino effect. Stable tables mean no more wind-scattered playing cards. Elevated seats mean no more knee pain as you stand up. And a windbreak zone means your kids actually stay put with hot chocolate while you prep dinner.
Last November, I watched a couple shiver through their first snowy campnight, all because they'd set up chairs before the windbreak. Their table became a sail, blowing pancakes into the woods. But when they reset using this sequence? Calm. Hot food. Quiet laughter under the stars. That's the power of choreographed cold-weather furniture: it turns survival into sanctuary.
Your Actionable Next Step: Before your next chilly trip, test your setup sequence in your driveway at 40°F. Time yourself placing the windbreak, then seats. If it takes over 7 minutes, streamline one step (maybe pre-attach stakes to your table legs). Master this in daylight, and you'll arrive ready to live in your campsite, not just endure it. Reduce cognitive load now, and your coldest nights will become your coziest memories.