Best Camp Furniture for Storms: Anchor Guide
By Diego Matsuura • 27th Mar

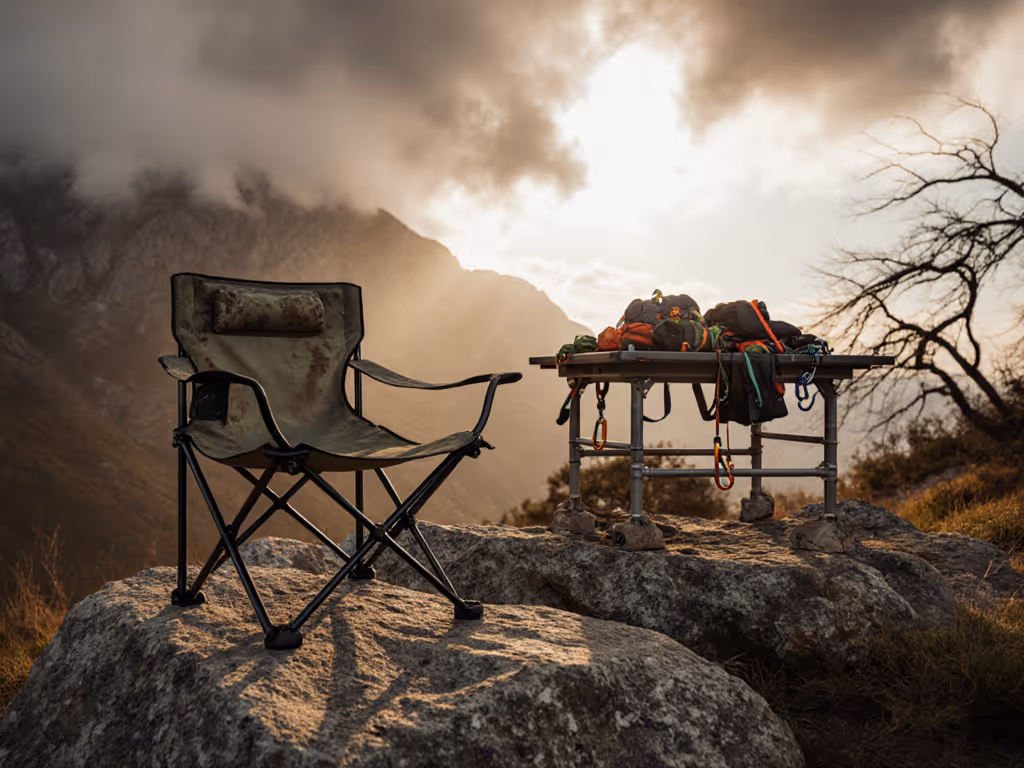
When wind picks up and clouds darken at camp, your furniture becomes either your ally or your liability. Knowing how to choose and secure the best camp furniture for storms and deploy a weather-resistant camp setup transforms a nervous evening into a manageable one. This guide walks you through the critical questions campers face when preparing for conditions beyond the gentle weekend, and how geometry, anchoring strategy, and material choice create real stability.
Why Storm Preparedness Starts with Furniture Selection
Why does furniture matter in storms?
Most campers treat furniture as a comfort layer, an afterthought. In rough weather, furniture becomes structural. A chair with a narrow stance tips when gusts hit. A table with shallow feet sinks into sand or mud under sideways pressure, then pivots. A cot with misaligned guy-lines pulls your tent canopy, risking collapse. The geometry of your camp setup (the angles of legs, the depth of footprints, the height of your center of gravity) determines whether your campsite feels chaotic or contained.
I learned this viscerally years ago during a three-night beach camp. My dad's seat kept tilting forward; he'd stand mid-meal, shoulders tense. At first, we blamed the chair's cushioning. Then we measured. The seat had sunk three inches into soft sand, the table rode high above his elbows, and his knees hit the underside. We weren't missing padding. We were missing architecture. We widened his footprint, lowered the table slightly, and anchored both to the hard-pack at the beach's edge. He settled back. Chair geometry, not cushions, had been the answer.
That's where a storm-safe campsite layout begins: understanding how height, width, and weight distribution interact. When wind arrives, those principles matter even more.
FAQ: Choosing and Anchoring Camp Furniture for Storms
What makes a chair stable in wind?
A stable camping chair resists tipping in three ways: footprint width, seat height, and center-of-gravity placement.
-
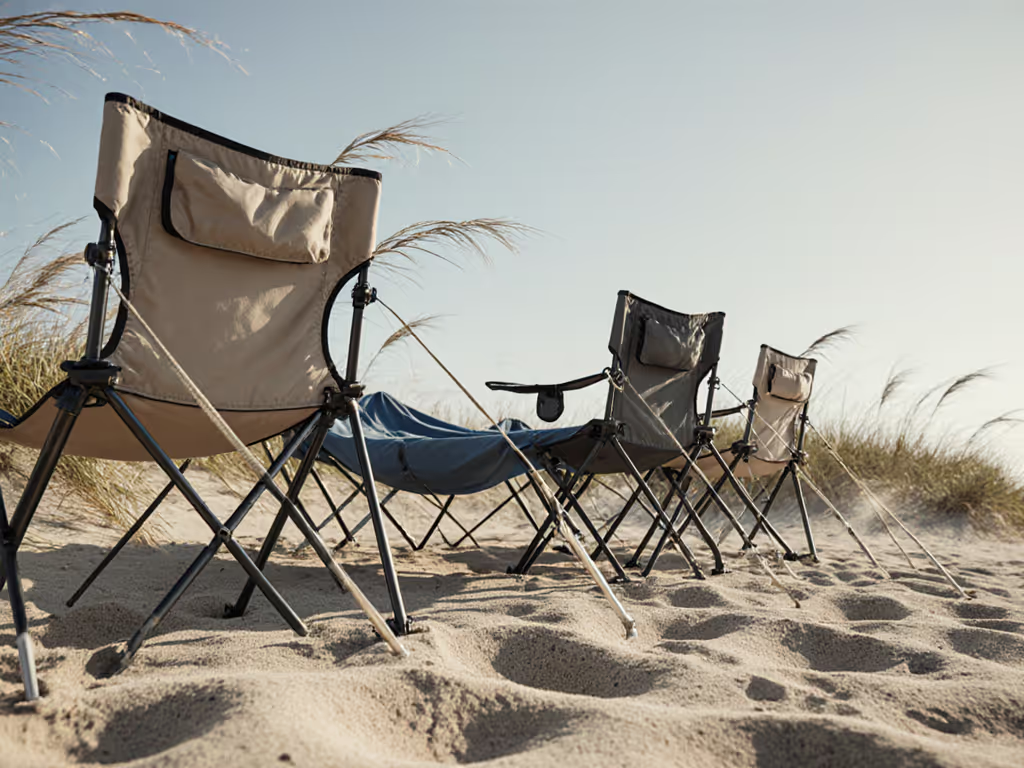
Footprint width: A chair with legs splayed 24 inches apart is far more resistant to sideways pressure than one with legs 16 inches apart. When you're evaluating chairs, measure the spread of the back legs; that's your true stability anchor. Narrow-legged designs prioritize packability over wind resistance; wide-splayed frames prioritize anchoring.
-
Seat height and angle: A lower seat (8-10 inches) places your center of mass closer to the ground, reducing tipping leverage. Higher camping chairs (12-14 inches) are more comfortable for longer sits and easier to stand from, but they're more vulnerable to gusts. In storm-prone regions or windy deserts, prioritize the lower geometry.
-
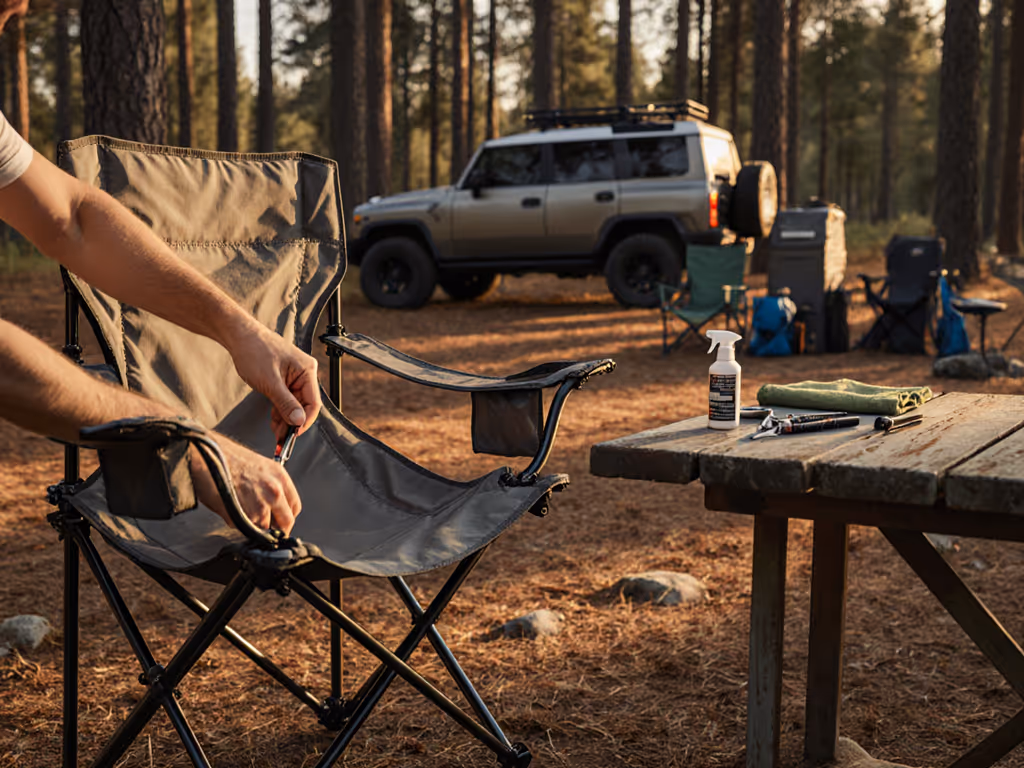
Leg material and penetration depth: Aluminum legs on soft sand or muddy ground can shift under load. Legs with wider feet (or optional sand plates) bite into the surface and prevent rotation. Before a stormy trip, verify that your chair's feet can be fitted with or upgraded to wider inserts.
How do you match chair height to table height for comfort during long meals?
This is where comfort compounds: mismatched heights create compounding fatigue. After two hours of eating or playing cards with elbows too high or knees jammed under the table edge, shoulders tense, lower back rounds, and frustration rises.
The ideal relationship:
-
Seat surface to tabletop: 10-12 inches of clearance. Measure your chair's seat surface to the ground; then measure your table's height. Subtract one from the other. If the gap is less than 10 inches, your knees will contact the table apron or your thighs will press against the table edge. If it's more than 12 inches, you'll have to reach or round your shoulders forward.
-
Backrest and table position: Sit in the chair with your back against the rest. Your elbows should be able to rest on the table with your forearms roughly parallel to the ground. If your elbows are too high (reaching up to the table), your shoulders fatigue. If they're too low (sinking down), your posture rounds and your core disengages.
-
Scaling for groups: When you're adding a guest or two, choose a second chair that matches the first in seat height. A camp that mixes 9-inch and 14-inch seats with one 28-inch table creates visual chaos and forces people into different postures. Geometry working quietly in your favor means all spines aligned, all elbows level, all plates and drinks at the same visual plane.
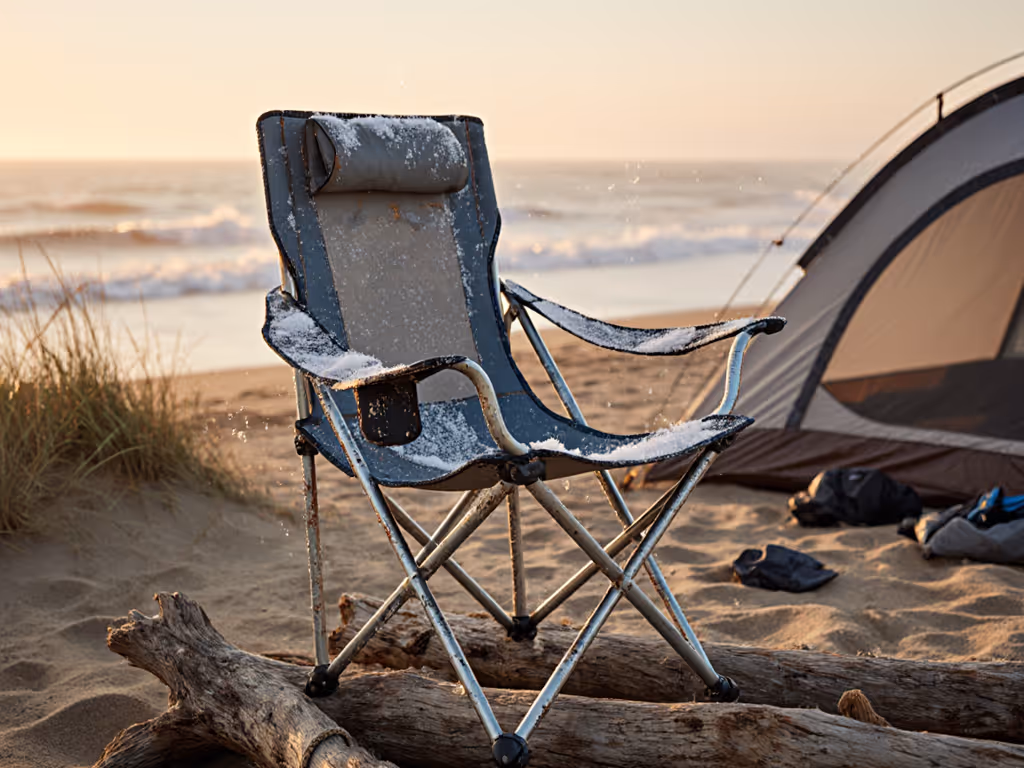
What materials resist moisture and wind best?
Material choice is a storm-readiness decision.
-
Seat fabrics: Perforated polyester or mesh dries quickly and resists mildew better than dense canvas. Canvas holds moisture and becomes a cold surface at dawn. Compare textiles in our weather-resistant camping fabric guide to pick seats that dry fast and fight mildew. If your chair uses canvas, bring a breathable pack cover to let air circulate during overnight storage.
-
Frame materials: Aluminum resists rust. Steel requires inspection and touch-ups. HDPE plastic (high-density polyethylene) resists rot, deformation, and moisture, ideal for wet climates or frequent trips. If you choose aluminum, check for anodizing (a protective oxide layer); bare aluminum can pit in saltwater or acidic rain.
-
Tabletops: Plywood or particle board warps and delaminates. Solid wood is heavy and prone to splintering. Aluminum-topped tables with sealed edges or HDPE lumber tops resist swelling and splitting. Verify that seams and fasteners are sealed or stainless.
-
Finishes: UV-protected coatings prevent fading and surface degradation. A finish that cures to a hard shell (not a wax or oil) resists dirt accumulation and makes cleanup faster after storms or dusty conditions.
How do you anchor furniture to prevent blow-overs and loss?
Geometry buys you resistance; anchoring buys you certainty. In sustained winds or gusts above 25 mph, anchorless furniture will fail.
Low-profile anchoring:
-
Weighted feet or sand plates: Some camping tables and chairs come with optional wider feet or sand anchors. Sand plates (flat discs that screw to leg bottoms) distribute weight over a larger area and increase friction. If your furniture doesn't include these, aftermarket options exist; prioritize them for beach or desert trips.
-
Ground anchors and stakes: Drive a heavy-duty ground stake (5-8 inches long) through a loop or eyelet welded or riveted to the table or chair frame. Use 1/4-inch paracord rated for at least 100 lbs. Angle the stake 45 degrees away from the furniture. One anchor per frame is a minimum; two (front and rear, or diagonal) is better for tables.
-
Cross-bracing: For large tables or multi-unit clusters, guy-lines strung in an X pattern from furniture feet to ground stakes create lateral support. This is especially useful in open, exposed campsites.
What to avoid: Relying on furniture weight alone. A table weighing 30 lbs can be tipped by a 20 lb sideways force (wind pressure, a leaning person). A 60 lb table is more stable but still vulnerable in extreme conditions. Always assume anchoring is required in storms. For a full checklist on hardening your setup against rain, wind, and sun, see our weather-tough furniture setup strategies.
How do you set up a storm-safe campsite layout?
Storm-safe layout starts with three zones and intentional spacing.
-
Lounge zone: Position lower-profile chairs (8-10 inches) in a circle or loose grouping at least 10 feet from trees, tent stakes, or guy-lines. Keep the footprint wide, more than 20 feet across, so wind flows around the group rather than through it. Avoid positioning chairs directly downwind of tall objects that could shed branches or create turbulence.
-
Dining and play zone: Center your table on a hard-pack area (avoid soft sand or mulch where feet sink). Position chairs so seat heights match the table; check clearance again. Arrange chairs so that no one is facing full wind (which increases cooling and fatigue) if possible. Leave at least 18 inches of clearance on all sides for people to move in and out safely.
-
Kitchen zone: Position the stove, cooler, and prep table downwind of lounge and dining areas (so smoke and cooking smells don't waft into faces). Keep it far enough away that spills or tipping pans don't create chaos in your social space.
Spacing between zones: At least 12 feet. This prevents overlapping wind eddies and allows sight lines without clutter. If your campsite is small, compress the zones slightly but maintain at least 6 feet between table and chairs, enough to move and to create distinct functional areas.
What if your cot or hammock is unstable or collapsing?
Cots and hammocks are furniture too, and storms expose misalignment quickly.
-
Cot stability: A cot that wobbles side-to-side has legs that aren't fully spread or a frame that's bent. Check that all four legs are fully extended and locked. If legs still flex, your tent's footprint is too soft, place plywood sheets or a flat tarp under the cot feet. Verify weight limits: an overloaded cot sags, then rolls under pressure.
-
Hammock sag and sway: A hammock installed with too much sag (the anchor points too low or too far apart) will swing more in wind and strain the anchor trees. A 30-degree angle at each anchor point (measured from the suspension line to the tree) is optimal. Steeper angles increase load on the tree; shallower angles increase sag and sway. Test your installation during calm conditions before a storm.
-
Guy-lines and guy-out points: A cot or hammock should have rear guy-lines staked to the ground to prevent swinging. A 45-degree angle from the cot/hammock to the ground stake is ideal. Without rear guys, wind or an off-balance shift will rock your sleep system, draining energy and eroding confidence.
How do you keep tables from becoming kites in the wind?
Tablecloths and lightweight items are the first to go. Prepare with three strategies.
-
Weighted table edges or tie-downs: Use clips (with magnetic or velcro backings) or adhesive-backed weights along table edges. Paracord ties through eyelet holes in the table frame to ground stakes work well for heavier winds. Never rely on a tablecloth's weight alone. If your current table wobbles, see our stability-tested folding tables that resist tipping in gusts.
-
Table placement and wind angle: Orient the table's long side parallel to the prevailing wind, not perpendicular. A narrow profile into wind creates less pressure and less sail effect. If winds shift, be ready to rotate.
-
Item management: Store small items (napkins, spices, headlamps, phones) in a low-sided bin or caddy with a lid. Loose items become projectiles. Drink cups should have lids or be placed in holders that cradle them. Plates are best served one at a time, not staged in stacks on the table.
What's the fastest way to deploy furniture in fading light?
A storm often arrives in the late afternoon. You may have 30-45 minutes before dark.
Pre-storm deployment order:
- Unpack and lay out: All frames, legs, and bolts. Check that nothing is missing, do this before you need it. (5 minutes)
- Assemble chairs: Snap legs into seats or secure bolts finger-tight. Don't over-torque; that comes later. (3 minutes for 4 chairs)
- Assemble table: Set legs, level the top, then check that chair heights fit. Adjust legs if needed. (5 minutes)
- Anchor furniture: Drive ground stakes, attach paracord. Tug to verify holding before you trust weight. (5 minutes)
- Arrange and adjust: Fine-tune spacing and comfort. (2 minutes)
Total: 20 minutes for a functional four-person camp, even with reduced light. Practice this setup at home so you move with confidence, not hesitation.
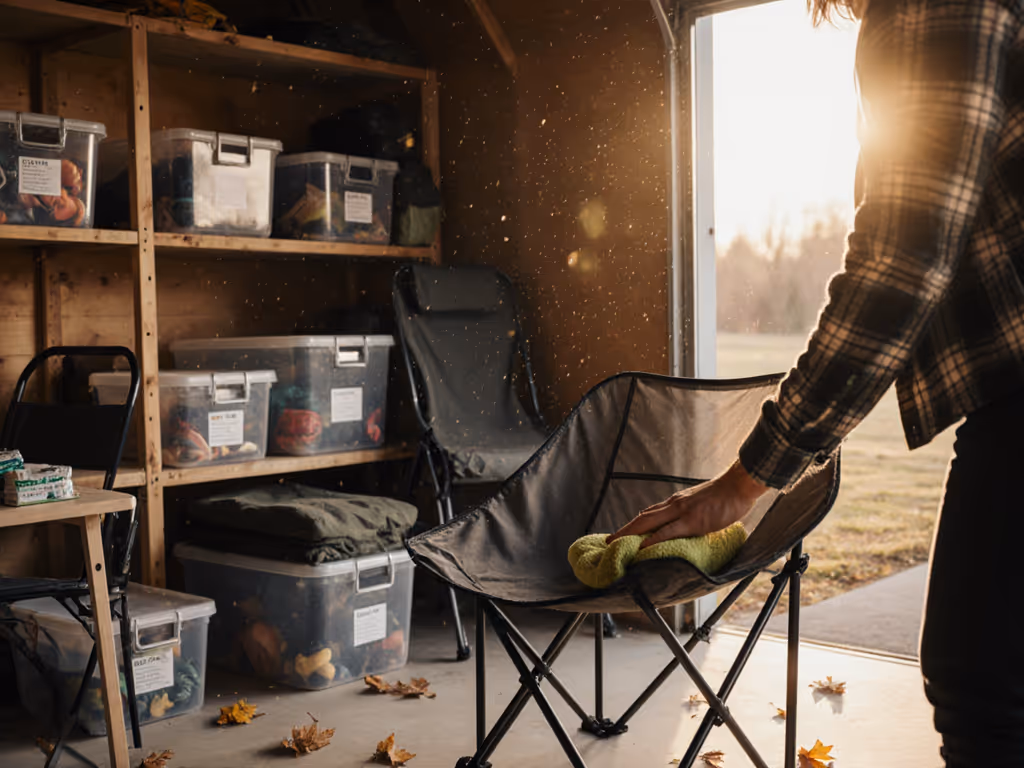
What post-storm inspection should you do?
After wind or heavy rain, check:
-
Frame integrity: Flex each joint by hand. Listen for creaks or pops. If something has bent or cracked, stop using it and repair it before the next trip.
-
Fasteners: Bolts, rivets, and welds should be tight and show no cracks. Re-tighten hand-tight bolts after each storm.
-
Leg feet or plates: Look for sand or mud caked on wider feet; clean and dry. If a leg has a dent or is misaligned, straighten it carefully or replace it.
-
Fabric or seat material: Check for tears, loose stitching, or mildew starting. Air-dry completely before packing. If mildew is visible, wash with mild soap and water, then dry fully.
-
Corrosion: Salt spray or acidic rain can pit aluminum or rust steel. For coastal camps, choose from our rust-resistant beach chairs built to handle sand and salt. Inspect welds and seams. Wipe down with a dry cloth and store in a dry place.
Actionable Next Steps
Start with these specific moves:
-
Measure your current camp furniture: Seat height, table height, leg spread, foot size. Write it down. This is your baseline. If any measurements feel uncomfortable during a three-hour meal, geometry is the problem, not the food.
-
List your storm-prone trip scenarios: Beach in wind season? Desert with dust storms? Mountains with afternoon thunderstorms? For each scenario, note the wind direction, terrain (sand, rock, soil), and likely duration. This clarifies what anchoring and material choices matter most.
-
Audit your frames and materials: Check that all fasteners are secure, feet are not bent, and fabrics are dry and mildew-free. Replace worn cords or rivets now, not on-site.
-
Mock-deploy at home: Set up your furniture in your driveway or yard. Time yourself. Check that all chairs fit comfortably under the table. Adjust legs or add shims to level uneven ground. This rehearsal cuts stress and confusion when you arrive at a site.
-
Source one key upgrade: If your current setup lacks anchoring points, add a ground-stake kit or weighted feet. If chair and table heights mismatch, mark which chairs work with which tables. If your table is wobbly, identify whether it's frame bend or soft ground, then plan a fix (shims, firmer site selection, or a replacement table).
Comfort is geometry working quietly in your favor. When that geometry is matched to real bodies, real terrain, and real weather, your camp becomes a refuge, not a puzzle to solve during a storm.
Related Articles
Care, Maintenance & Weather Protection
Best Camp Furniture: Proven Weather-Tough Setup Strategies
Spec camp furniture for the conditions you’ll actually face, not just weight. Get tested, practical tactics - UV-resilient materials, modular interfaces, terrain-adaptive feet, cross-bracing, and a three-tier anchoring plan - to keep your setup stable in wind, sand, and on rock.