Wilderness Furniture Building Made Easy
By Nadia Okoye • 20th Apr
When wilderness furniture building is done right, it's less about craft and more about choreography. The best approach to camp furniture isn't a solo carpenter's dream (it's a planner's sequence). Most people assume that field setups happen in a cloud of improvisation, but the smoothest camps I've seen unfold like staged theater: each piece arriving at its moment, everything stable, nothing in the way of the next step.
I've learned that natural material construction and thoughtful positioning transform how a camp feels. Orchestrating a leave-no-trace seating plan and eco-friendly camp setups isn't luxury; it's the difference between overtired travelers and a social, secure basecamp.
The Power of Setup Sequence
Before your furniture (handmade, bought, or borrowed) ever touches the ground, decide your order. This isn't magic; it's applied physics and a dash of psychology.
The problem most campers face isn't gear; it's choreography. Arrive at dusk, light fading, and panic sets in. You unload a tangle of chairs, a wobbly table, and sleeping cots, all at once. Now you're juggling pieces, looking for level ground, and the kids are hungry. The setup becomes the event (exhausting and dispiriting).
Choreograph setup, and the whole weekend slows down.
I learned this the hard way. Years ago, we arrived at a mountain site with rising wind and two overtired twins. Instead of diving into the pile, I sequenced a five-minute camproom: windbreak table first (a sturdy surface to block gusts and define our zone). Then staged cots along one side. Chairs clipped together. Snacks on the table. Stakes driven in. Thirty minutes later, the wind was loud, but the kids were calm, eating, and the camp was unshakeable.
That night taught me that primitive camping techniques and modern comfort aren't enemies. They're orchestration partners.
The Five-Minute Camproom: A Step-by-Step Blueprint
Here's how to sequence your own wilderness furniture deployment. Treat these as non-negotiable order (not because they're rigid, but because they work).
Step 1: Establish Your Windbreak & Anchor (Minutes 0-2)
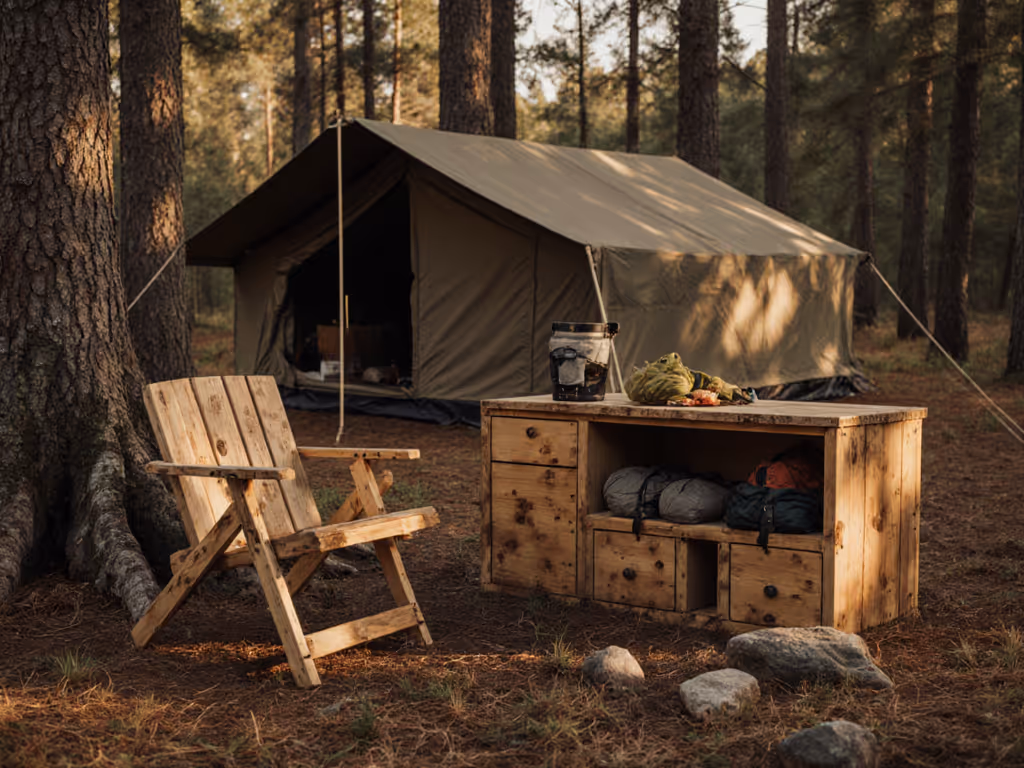
Identify the wind direction and set up a natural material construction centerpiece (a sturdy table, a log base, or a simple frame) that blocks prevailing wind and defines your gathering zone. This isn't a dining table yet; it's your structural anchor. Secure it. Weight it if needed. This single move cuts setup chaos by half. For high-wind and rain prep, follow our storm anchoring guide for camp furniture.
Why? A stable, visible anchor point makes every subsequent placement obvious. Kids gravitate to it. Adults orient their seating around it. The table becomes the reason for everything else.
Action: Place your windbreak surface on the most level ground available. Ensure it won't shift. If the ground is sand or soft soil, use broad feet or weight distribution plates to prevent sinking.
Step 2: Stage Sleeping Surfaces (Minutes 2-4)
Place cots or elevated sleeping gear adjacent to the dining zone, not buried behind it. This is primitive camping technique at its finest (elevation keeps you warm, dry, and visible). Your sleeping area is your safety zone.
Position them parallel, creating a defined edge to your campsite. This signals the boundary between social space and rest space, reducing foot traffic and clutter.
Action: Confirm cots are level and sturdy. If ground is uneven, adjust feet or use sand plates on individual legs. Choosing elevated sleep systems? See our camping cots face-off for stability and comfort data.
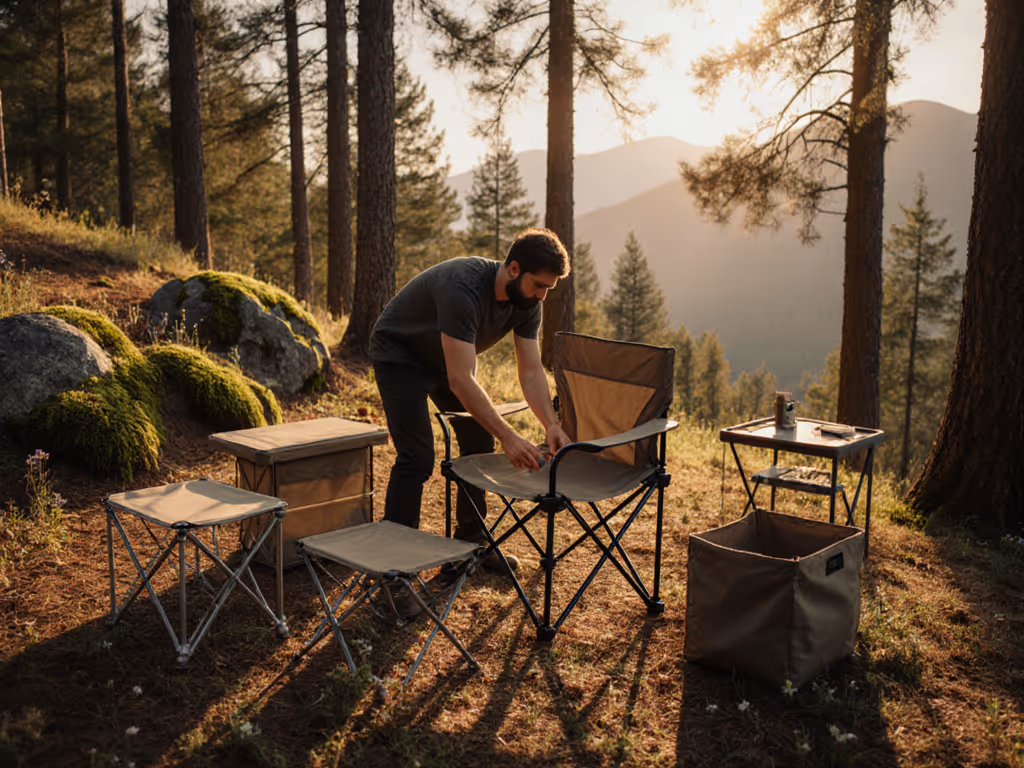
Step 3: Arrange Seating (Minutes 4-6)
Add chairs in a horseshoe or arc facing the central table and each other, not scattered. This is leave-no-trace seating strategy (compact, contained, minimal footprint).
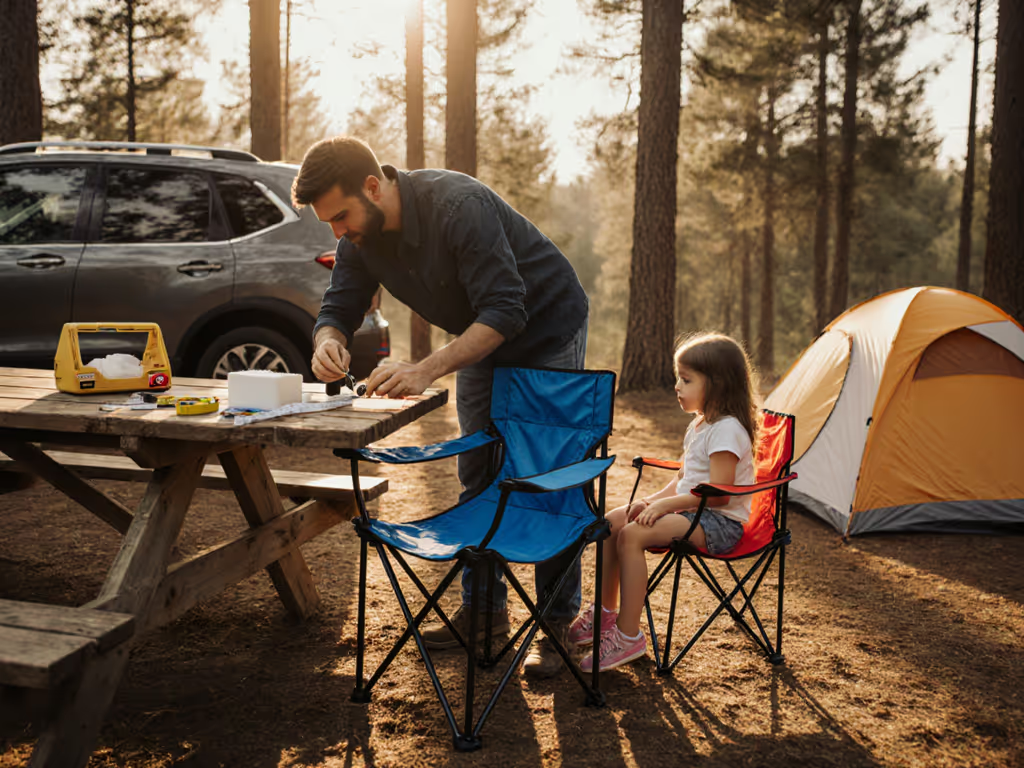
For mixed groups (kids, adults, older campers), vary seat heights. Low loungers for relaxation, higher dining chairs for meal time. This modularity means your camp adapts as the day shifts.
Action: Check each chair's stability by pressing down on one corner. It should not rock. If it does, adjust.
Step 4: Add Side Surfaces & Organizers (Minutes 6-8)
Place smaller tables or surface organizers within arm's reach of seating: side tables for phones, cups, headlamps, and condiments. This prevents scattering of small items and reduces tripping in the dark.
Action: Ensure all surface edges are smooth and secure. Check weight capacity (a lightweight organizer tipping is a common culprit in camp accidents).
Step 5: Final Check & Tie-Down (Minutes 8-10)
Walk the perimeter. Look for wobble. Press on each table, check chair legs. Secure anything that catches wind. Clip tablecloths or use magnetic clips to prevent billowing. Test cot firmness and sleeping zone boundary.
Action: Create a simple mental map: "Table here, kids' zone here, kitchen there." This becomes your operating reference for the entire trip.
Building Durable Wilderness Furniture: Core Principles
If you're wilderness furniture building from natural materials (logs, branches, rough-hewn timber), focus on eco-friendly camp setups and longevity.
Joinery & Stability
The foundation of stable wilderness furniture is solid joinery. Two primary methods dominate rustic construction:
Mortise and Tenon: A mortise is a hole drilled into one piece; a tenon is a shaped protrusion on the other. This joint is load-bearing and forgiving of rustic materials. For camp furniture, this approach avoids nails (which can rust and fail) and creates a joint that tightens slightly as wood dries.
Lag Bolts and Screws: For simpler projects, lag bolts and quality wood screws provide reliable fastening. They're easier for DIY builders and more forgiving than complex joinery.
Essential Tools for Field or Workshop
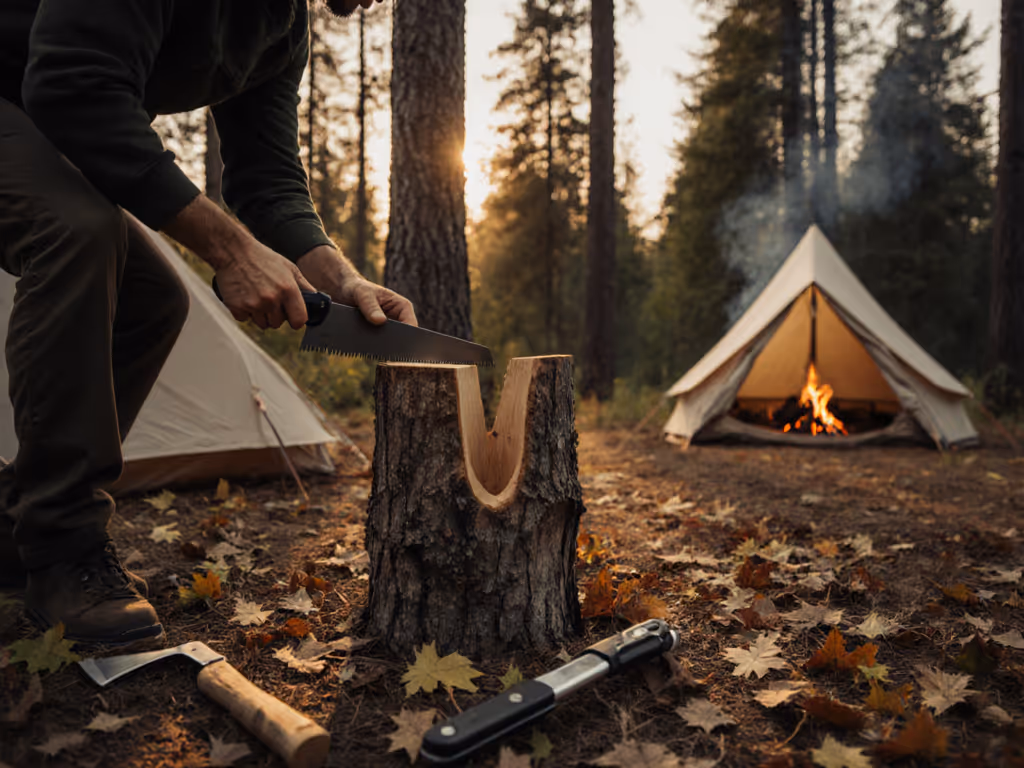
If you're hand-building pieces for wilderness setups, a core toolkit includes:
- Battery drill (essential for holes and pilot tenons)
- Hand saw or Japanese saw (for cutting tenons flush; minimal noise, maximum control)
- Clamps in multiple sizes (indispensable for holding joints while fastening)
- Putty knife (for stripping bark and smoothing rough edges)
- Hand plane or rasp (for breaking sharp edges and fitting joints)
Focus on hand tools if you're prioritizing leave-no-trace principles. They're quieter, lighter, and don't require power in field settings.
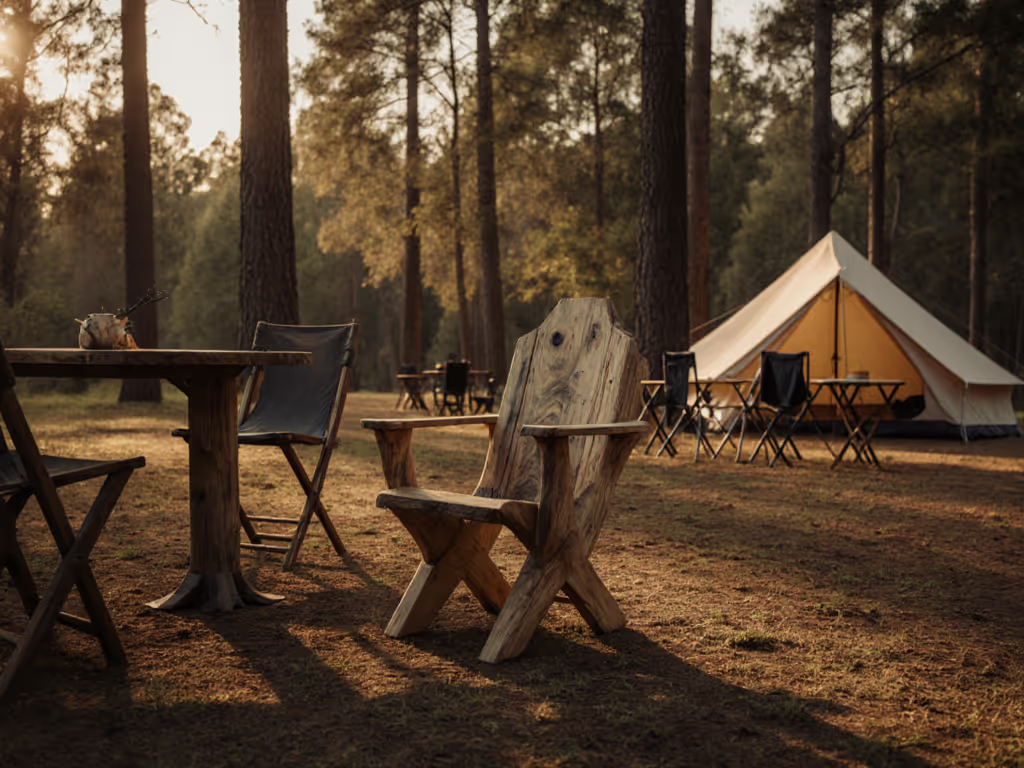
Natural Material Selection
Choose natural material construction that reflects local ecology. Avoid rare species. Fallen deadfall and reclaimed timber are ideal. Ensure all wood is dry and seasoned to prevent warping.
For camp setups, prioritize:
- Stable hardwoods (oak, maple) over soft woods
- Broad, flat surfaces over thin, spindly designs
- Joints that lock (mortise-tenon) over those that depend on fasteners alone
Modularity & Scaling for Groups
The beauty of eco-friendly camp setups is their adaptability. Build a three-person core (table, 3 chairs, 1 cot) as your baseline. Then add modules: a two-chair section, an auxiliary side table, an extra cot.
Each module nests or stacks for packing, and each integrates without disrupting the established sequence.
Checklist for Modular Scaling:
- Maintain consistent seat heights across all chairs
- Table height remains consistent (28-30 inches is standard)
- Cots use the same locking mechanism
- Side tables are interchangeable
- All materials fit into three labeled bins or cases
Packing: Reverse Sequence Choreography
Tear down in reverse order: organizers, chairs, sleeping surfaces, anchor table. Stack each piece into a designated bin, labeled by function. Time the pack-down. Aim for under 15 minutes.
This reverse sequence ensures nothing is forgotten and every piece knows its home.
Your Next Move: Build or Refine One Module
Start with a single core setup: one stable table, three matched chairs, and one elevated sleeping surface. Test it for one full weekend. Note what wobbles, what's uncomfortable, what needs a second surface. Then, sequence a second module (an auxiliary table or two loungers) and integrate.
This iterative approach lets you feel the choreography before committing to a full system. Calm, intentional camps don't happen by accident. They're designed, tested, and refined.
Begin this week: measure your target seating heights, your table dimensions, and your available trunk space. Write it down. That's your foundation.
Related Articles