Build Stable Camp Chairs From Logs
By Nadia Okoye • 7th Mar

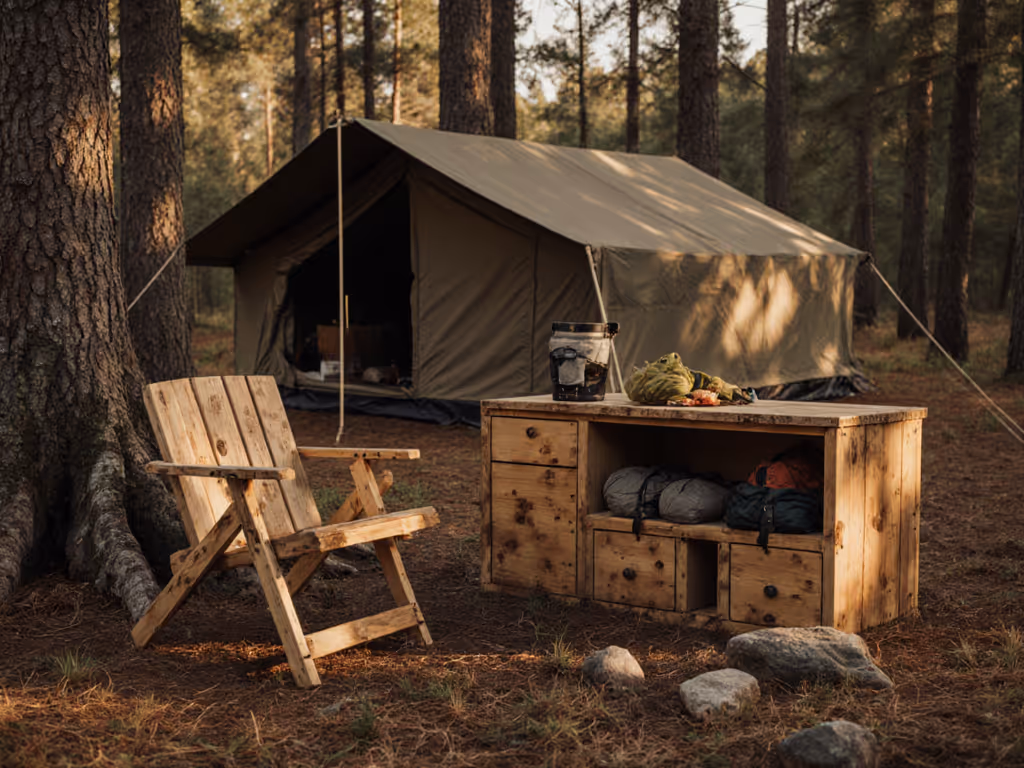
Wilderness furniture building needn't mean lugging heavy gear or settling for wobbly camp seating. A small camp chair built from fallen logs offers stability, zero-waste appeal, and the profound satisfaction of creating something dependable with your hands. I learned this truth years ago when we arrived at dusk (wind rising, twins overtired, daylight collapsing fast). A five-minute setup saved that night, and it taught me something I now design every trip around: choreograph your furniture, and the whole weekend slows down.
Built correctly, log chairs sit low enough for fireside comfort yet stable enough that kids and pets won't topple them. They pack lighter than you'd expect, require no electricity, and transform materials you find on-site into functional seating. This guide walks you through the process step by step, arming you with the techniques and confidence to build a camp chair that won't wobble on sand, rock, or uneven ground. For more natural-material builds, see our wilderness furniture guide.
Why Log Chairs Solve Your Campsite Seating Problem
Most camp furniture compromises on one front: weight versus stability, packability versus comfort, or aesthetics versus function. Log chairs collapse those trade-offs. Because you source material on-site (or carry only pre-cut components), you dodge the packing Tetris that devours trunk space. Because they're built low and wide-legged, they resist tipping on sloped or sandy terrain (a critical concern when small children or pets are nearby).
Zero-waste camping matters too. A fallen limb becomes seating rather than kindling. You leave nothing behind, add nothing to landfill, and demonstrate to younger campers that resourcefulness and respect for the environment go hand in hand. Prefer commercial solutions with lower impact? See our eco camping furniture systems. This is survival furniture techniques at its most elegant: primitive, reliable, and designed to last a season or a lifetime depending on how you finish and store it.
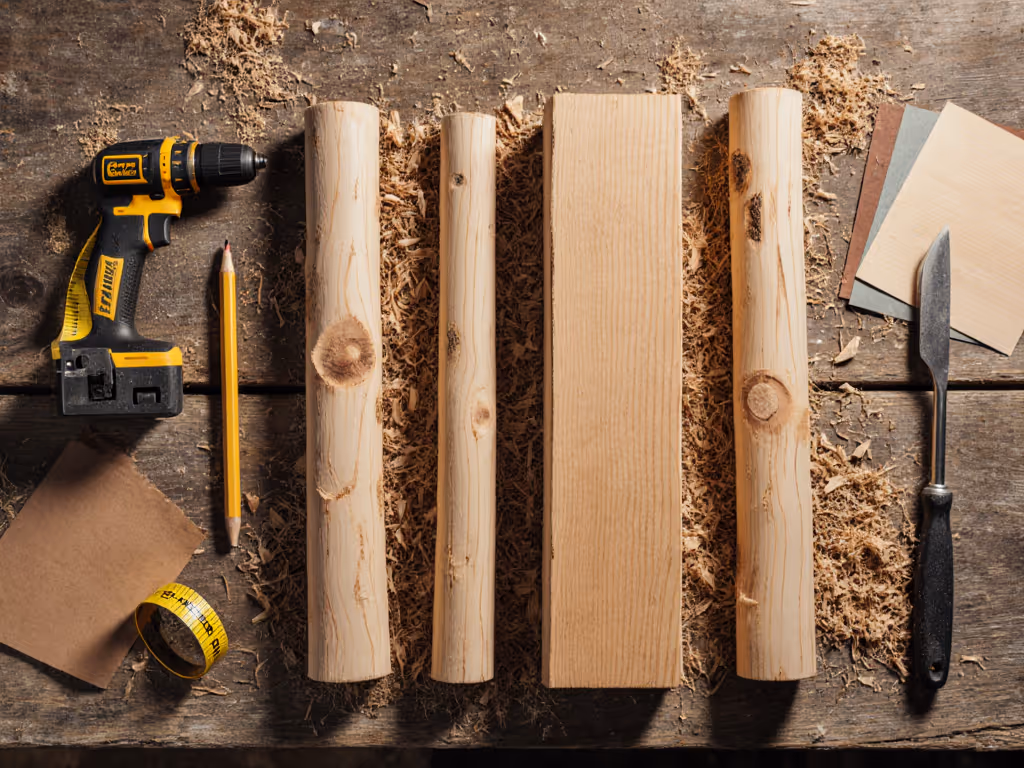
Materials You'll Need
Keep this list intentionally simple. Before arrival, gather or source the following:
- Four logs, roughly 2 to 4 inches in diameter and 18 to 24 inches long (for legs)
- One log, 12 to 16 inches in diameter and 16 to 20 inches long (for the seat)
- Drill with bits (1/4-inch and 1/2-inch for pilot holes and tenons)
- Saw (hand saw, bow saw, or chainsaw if felling trees on-site)
- Chisel set (for cleaning mortises)
- Measuring tape and pencil
- Sandpaper or file (for smoothing)
- Wood glue (outdoor-grade if available; optional for friction fits)
- Clamps (helpful but not essential)
Likewise, choose your wood with intention. Hardwoods like hickory are prized for primitive seating solutions because they're flexible, durable, and resist splitting under repeated weight. If harvesting on-site, select recently fallen wood free of rot or deep cracks. Avoid any log that shows signs of damage from nails or hardware (a prior swing or tree stand could hide metal that damages tools).
Step-by-Step Build: A Five-Minute Chair Plan
Stage 1: Prep Your Logs (15 Minutes)
Lay out all four leg logs parallel on a flat surface. Measure and mark them to equal length (18 inches is a comfortable seat height for seated conversations; 16 inches suits fireside lounge). This uniformity is non-negotiable: unequal legs mean a wobbly chair, and a wobbly chair around a fire is a safety risk.
Next, inspect your seat log. You'll use one end as the bearing surface. Mark the top face clearly with a pencil. This is where you'll drill the four mortises that receive the leg tenons.
Stage 2: Cut the Tenons (20 Minutes)
A tenon is a projecting ridge on the leg that slides into a matching hole (mortise) in the seat. This joint is the workhorse of rustic log furniture (simple, strong, and adjustable).
On each leg, measure 3 to 4 inches down from the top (the end that will go into the seat log). Using your drill, bore a pilot hole at the center of the leg's end face. Then, widen this hole or use a tenon cutter to create a cylindrical projection about 2 inches long and 1 inch in diameter. The goal: a snug fit into your mortise hole, not a rattle.
If you don't have a tenon cutter, you can carve the tenon with a chisel, working carefully and testing fit as you go. Patience here pays dividends later.
Stage 3: Drill the Mortises (20 Minutes)
Flip your seat log so the marked top face faces down. Measure 4 to 6 inches in from each end and corner, and mark the four drilling points. These should form a rough rectangle, slightly narrower than the log's width (this bracing keeps the chair stable).
Using your drill and a bit slightly smaller than the tenon diameter (creating a force fit), bore straight down into the seat log until you reach the depth of your tenon (roughly 2 inches). Mark your bit with tape so you don't over-drill and split the bottom.
A key detail: don't make the mortises perfectly diameter-matched. Instead, drill them about 1/8 inch smaller than the tenon. Safety by precision.
Stage 4: Insert Legs and Level (10 Minutes)
Flip the seat log back over. Insert each leg tenon into its mortise. Don't hammer or force; the friction fit should be firm but achievable by hand pressure. If a leg resists, back it out and sand the tenon lightly (patience avoids damage).
Once all four legs are seated, flip the chair upright. It will likely sit uneven because the seat log's underside is irregular. Here's where you choreograph stability: use a level across the top of all four legs and trim any leg that stands proud. Measure the gap, mark that leg, and saw it to length. Repeat for all four. This step is the difference between a functional chair and a furniture casualty waiting to happen.
Test the chair by sitting on it. It should feel solid: no rocking, no give. If it shifts, one leg is still too long or the mortises aren't fully seated. Back-check your work before moving on.
Stage 5: Finish and Secure (Optional, 15 Minutes)
Sand the seat surface and leg tops smooth so splinters don't surprise you mid-trip. If wood glue is available, a thin bead in each mortise before seating the legs adds permanence. Clamp the assembly for an hour if possible.
For long-term storage, treat with a weatherproof sealant or linseed oil to protect against rot. For complete off-season steps, follow our camp furniture storage guide. For single-trip use, you can skip this (the chair will perform fine even raw).
Testing Your Chair: Before You Camp
Don't trust a log chair until you've verified its stability. In your yard or on level ground:
- Sit on it firmly and shift your weight side to side
- Test each leg corner with downward pressure
- Rock gently front and back
- Have a second person sit if possible
If the chair flexes or creaks, return to Stage 4 and re-level. A solid chair should feel immobile under normal use. For ongoing care and wobble fixes on store-bought chairs, see our camping chair maintenance guide.
Scaling for Group Camping
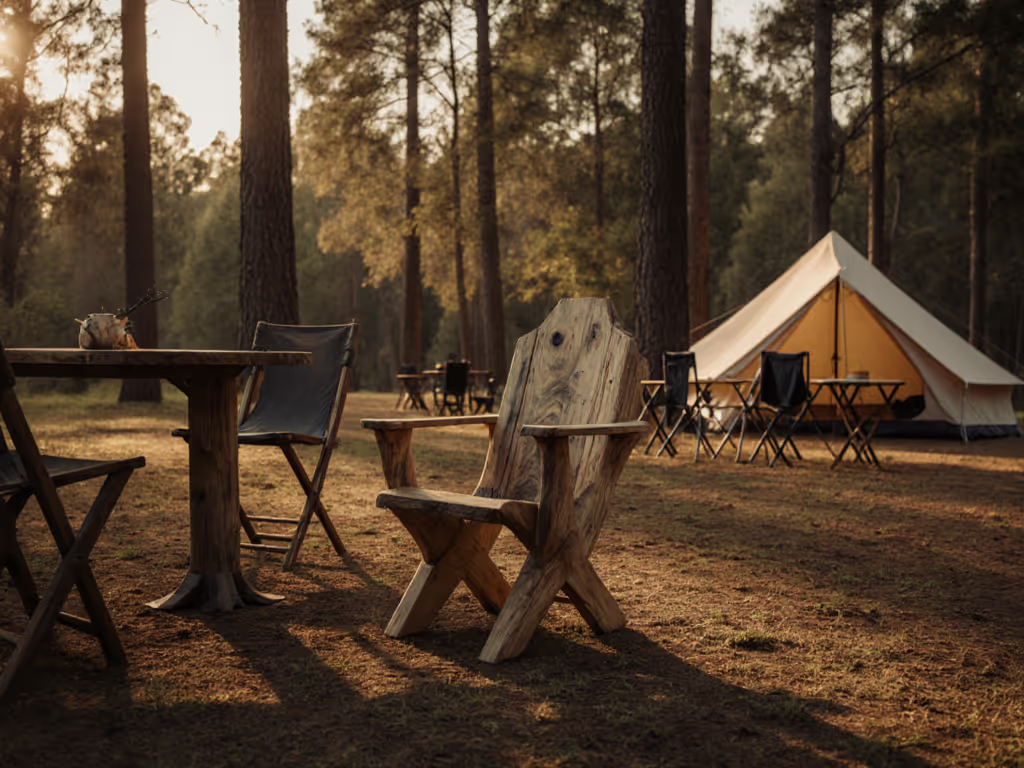
One chair is a start. Campsite seating solutions scale gracefully with this design. Build a second chair using identical logs and techniques. Three chairs and a log-based table create intimate social zones. Four chairs anchor a dining area. The beauty: each chair is independent and moves freely, perfect for reshaping your camp as the weekend unfolds.
For added comfort on longer trips, stage two high-backed log chairs (18 to 20 inches tall) for reading, and lower stools (12 inches) for food prep. This mix covers every posture and duration (a principle I call height coherence), and it's foundational to a restful camp.
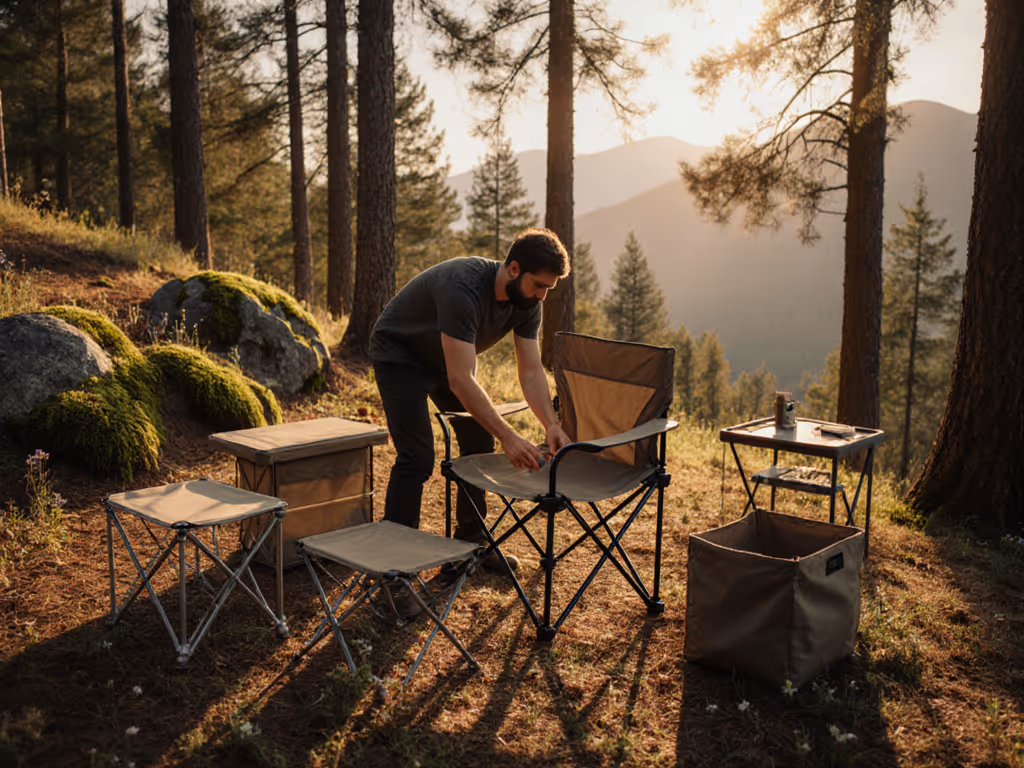
Zero-Waste Packing and Transport
If you're building on-site, cut legs and seat from fallen wood you discover. Carry a saw, drill, and bit kit (lightweight, infinitely reusable). No chair ships home; you disassemble and leave the logs for next season or future campers.
If you're pre-building, disassemble the chair and nest the legs inside or alongside the seat log. This packs smaller than a folding camp chair and weighs roughly 20 pounds (manageable for short walks from parking to campsite). Your cooler, stove, and water still fit.
Safety by Design
Log chairs are inherently kid and pet-safe if built mindfully. Round the leg tops and seat edges with sandpaper to prevent splinters. Keep the seat height low (16 to 18 inches) so small hands can't leverage a tip. Test on real terrain (sand, slope, gravel) before declaring it stable. A chair that doesn't rock on flat grass must also survive a beach camp or rocky ridge.
If you have very young children, consider adding a backrest made from a curved log or branch, lashed horizontally behind the seat. This prevents backward rolling and adds comfort for longer sit-times.
Your Next Five-Minute Setup
Now that you've built your small camp chair, plan its role in your camp layout. Sketch your site: where the fire or table anchors, where chairs stage. Time your setup. Can you position all seating within five minutes of arrival? That's the metric. For dialed-in placement patterns, use our seamless camp furniture setup guide. If setup drags past ten minutes, something in the choreography needs refinement.
Build a second chair this month. Test both together on variable terrain: sand, grass, slope. Write down what wobbles or causes discomfort. Adjust leg bracing or seat height for the next build.
Finally, document your design: photos and measurements. Once you've found your formula, replicating it becomes second nature, and you'll arrive at future camps with the confidence of someone who knows exactly what's needed and why it works. That calm is something you can pack. Build it into your chair, and you build it into your weekend.
Related Articles