Stable Shooting Platforms: Camping Furniture for Content Creators
By Nadia Okoye • 1st Dec
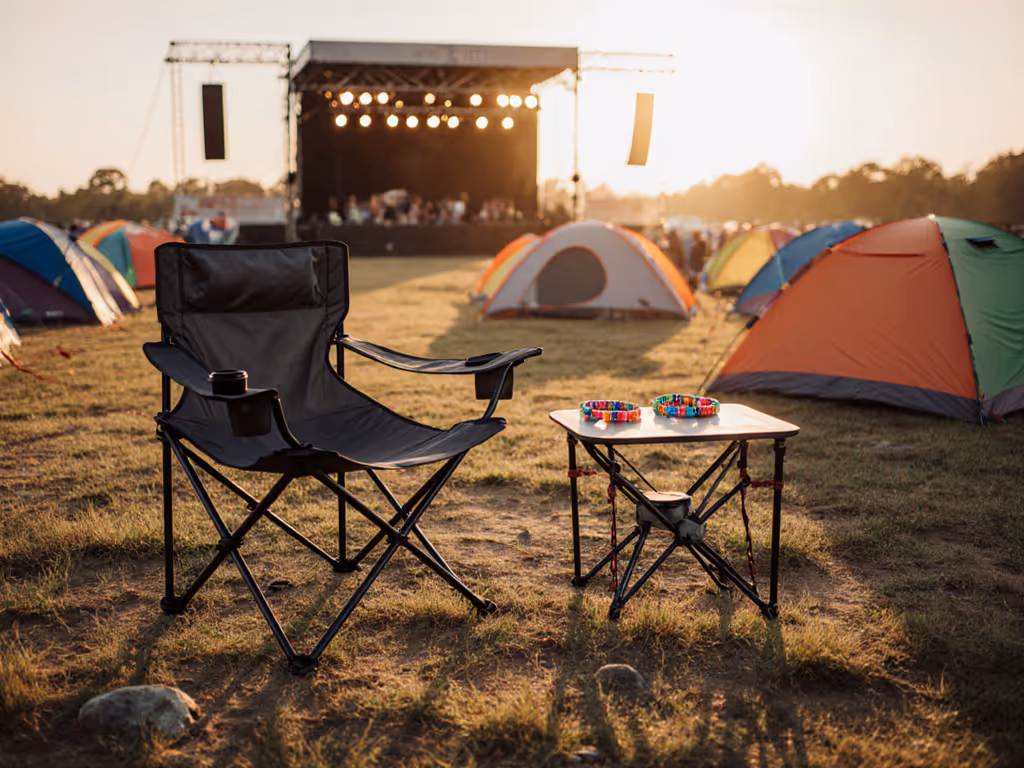
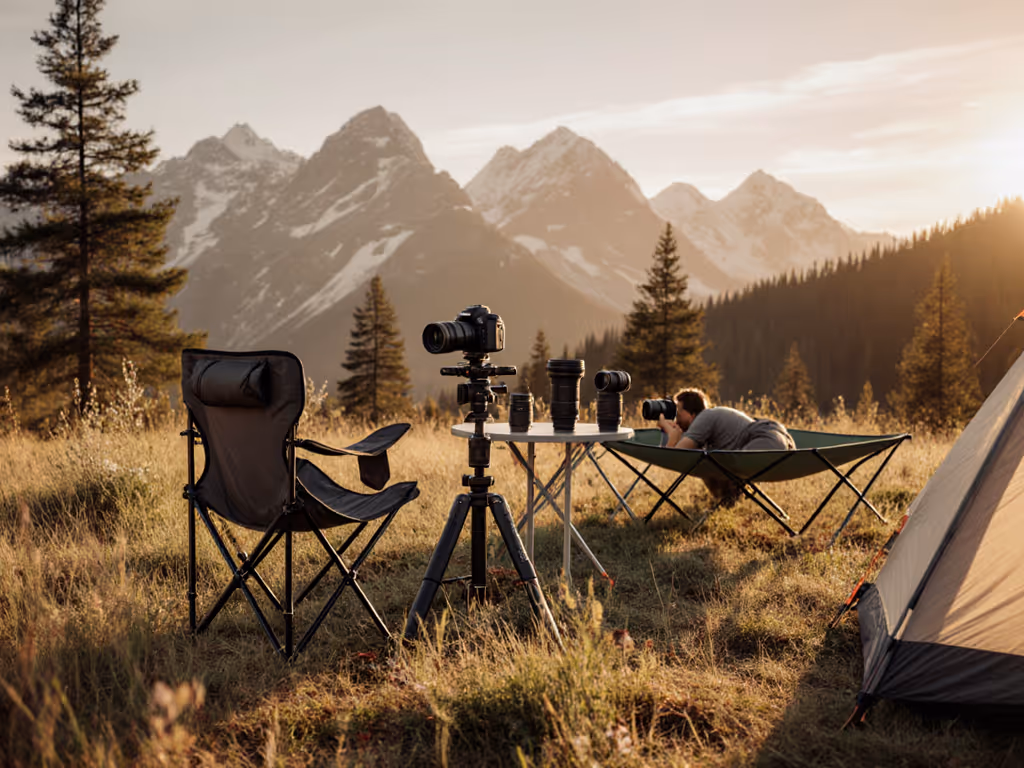
Ever arrived at your campsite with your camera gear ready to shoot golden hour, only to realize your flimsy camping chair won't stabilize your DSLR, or your wobbly table sends your phone footage into a blur? You're not alone. As a content creator who's worked with everything from wildlife photographers to food bloggers shooting campfire recipes, I've seen how mismatched photography camping furniture can derail an entire shoot. When your content creator camping gear doesn't work as a system, you're battling instability instead of capturing magic. The truth I've learned through seasons of campsite setups? Choreograph setup, and the whole weekend slows down.
Why Standard Camping Furniture Fails for Content Creators
Most camping furniture is designed for the campfire, not the content fire. Standard chairs sink in sand, dining tables rock on uneven ground, and makeshift platforms create shaky footage that no amount of editing can fix. For content creators, this isn't just an inconvenience. It is a creative bottleneck.
When your shooting platform wobbles, you lose:
- Precious golden hour light waiting for stable shots
- The authentic moments because you're constantly adjusting gear
- Professional credibility when your audience sees shaky footage
- Peace of mind when shooting in challenging conditions
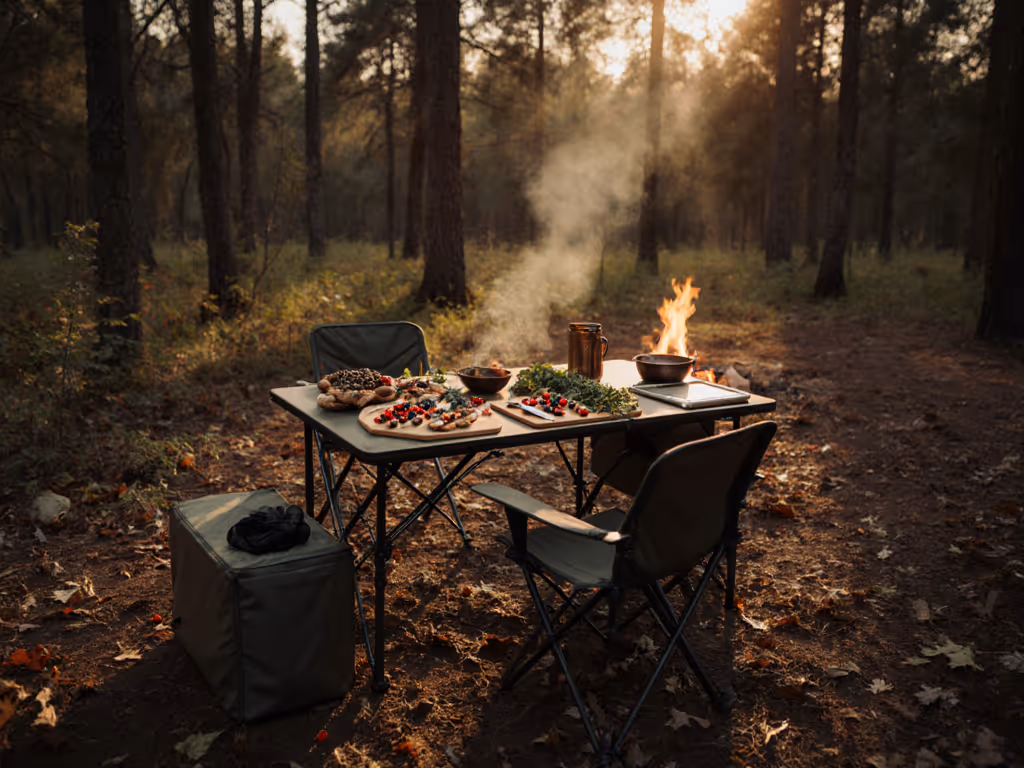
I remember a near-disaster when a food creator lost an entire clam chowder recipe sequence because her phone toppled off a picnic table during a gust. If table wobble is your weak point, compare options in our stability-tested folding tables guide. The wind won. Her audience missed out. And her frustration was palpable. A smooth setup isn't just about comfort. It is the foundation of a successful shoot.
Calm is something you can pack when your gear works as a system.
Step 1: Assess Your Shooting Needs Before You Pack (15 Minutes)
Don't just grab whatever tripod fits in your trunk. Start with this assessment sequence:
0-5 minutes: Identify your primary shooting scenarios
- Will you be filming seated interviews? (needs chair-height stability)
- Shooting flat-lay food photography? (requires table-height precision)
- Capturing landscape time-lapses? (demands wind-resistant stability)
6-10 minutes: Map your campsite workflow
- Sketch where you'll shoot relative to your vehicle, kitchen area, and tent
- Note where morning/evening light falls throughout the day
- Mark potential windbreak locations
11-15 minutes: Create your stability checklist
- Minimum height requirements for your camera angle
- Weight capacity needed for your gear setup
- Surface adaptability (sand, rock, uneven ground)
- Setup speed under time pressure
This assessment prevents the "I'll just figure it out" approach that leads to 45 minutes of frantic setup when light is fading. Your stable shooting platforms must support your specific workflow, not force you to adapt to them.
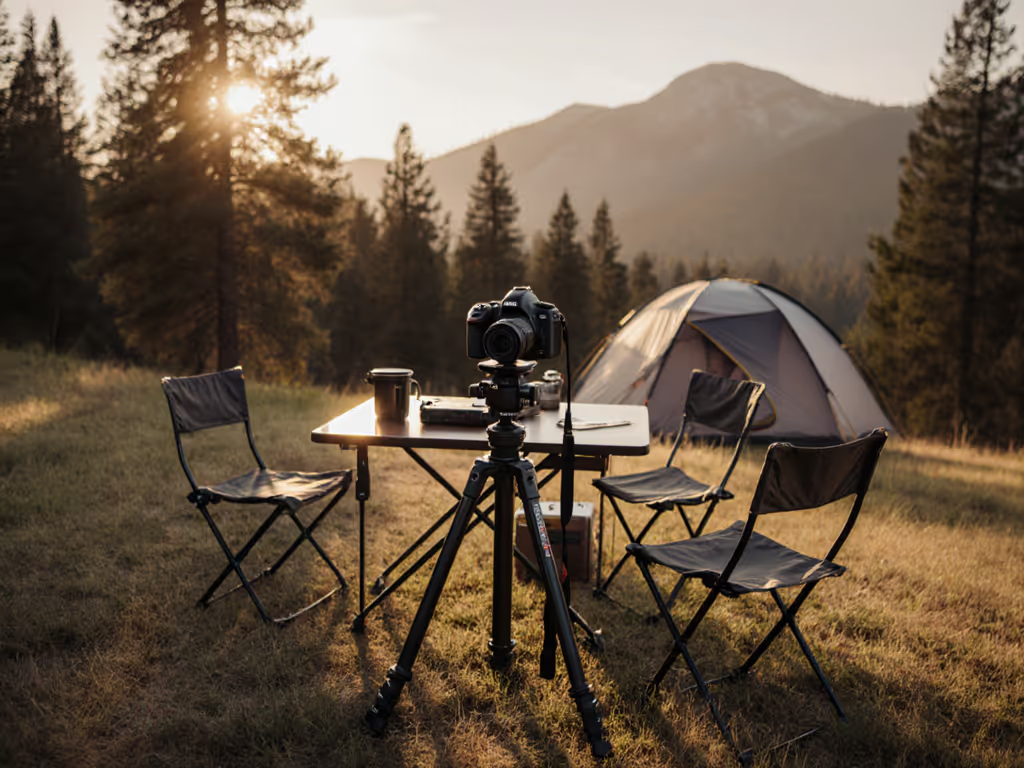
Step 2: The Core Triad of Content-Creation Furniture
Forget "one-size-fits-all" camping gear. For reliable content creation, you need three intentionally matched components working together:
1. The Foundation: Stable Shooting Platforms
This is your non-negotiable element. Your camera needs absolute stability (whether it's a $5,000 cinema rig or a smartphone). Standard camping tables flex under weight, wobble in wind, and vibrate with every footstep. You need purpose-built stable shooting platforms that:
- Maintain rigidity under equipment weight (not just rated capacity)
- Adapt seamlessly to terrain without constant repositioning
- Position your camera at the exact height needed for your shot
2. The Support System: Adjustable Camera Seats
Unlike standard camping chairs, these need to position you at perfect eye level with your camera without straining your neck or back. Look for:
- Seat height that aligns with your shooting platform
- Armrests that provide secondary stabilization points
- Footrests that prevent leg movement from transmitting vibrations
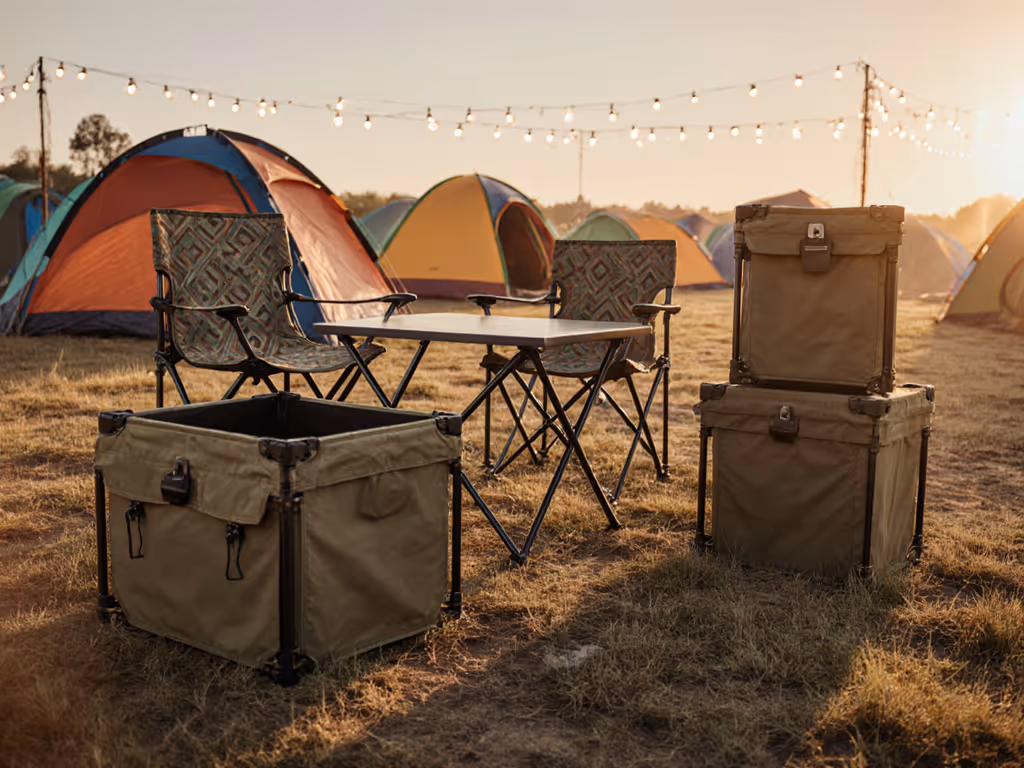
3. The Workflow Zones: Purpose-Built Layout
This is where most content creators fail. They scatter gear randomly instead of creating intentional zones. Your layout must include:
- Immediate gear access without standing up
- Clear paths for subjects moving through frame
- Shielded areas for equipment storage (wind/moisture protection)
- Contingency points for sudden weather changes
Step 3: Comparative Review: Top Photography-Focused Tripods
After testing dozens of options with professional creators, these three stand out as the best wilderness photography setup solutions across different budgets and needs.
Peak Design Travel Tripod: The Creator's Swiss Army Knife
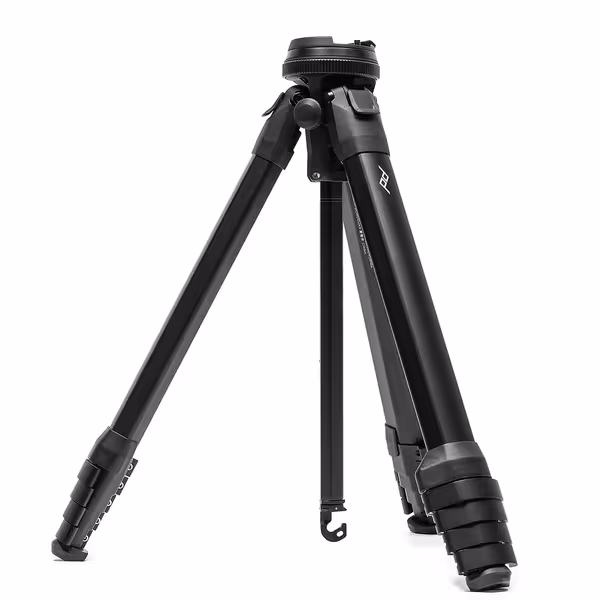
Peak Design Travel Tripod
Pro-level stability in a compact, portable design for seamless travel photography.
$319.95
Capacity20 lbs
Capacity20 lbs
Pros
Packs down to water bottle size, ultra-portable.
Pro-level stability on any terrain for heavy cameras.
Cons
Quick release can be stiff for some users.
Customers praise the tripod's brilliant design, build quality, and portability, particularly for backpacking photographers. The compact size makes it easy to travel with, and customers appreciate its 20lb weight capacity.
Customers praise the tripod's brilliant design, build quality, and portability, particularly for backpacking photographers. The compact size makes it easy to travel with, and customers appreciate its 20lb weight capacity.
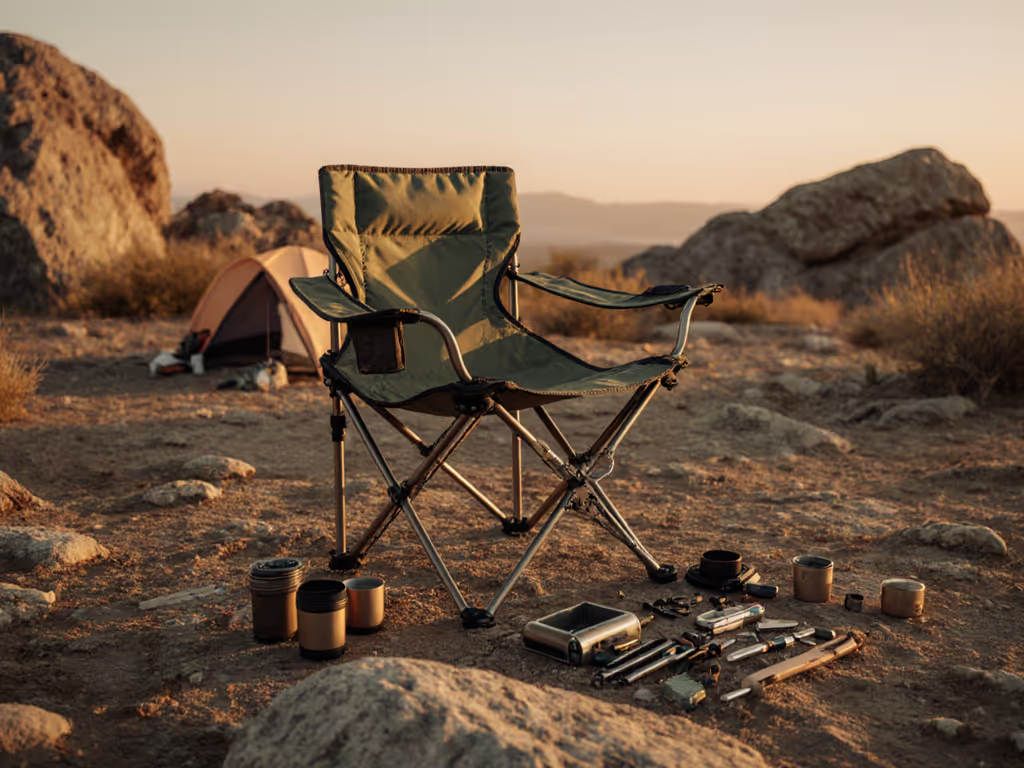
This tripod reimagines portability without sacrificing stability. When I tested it with a landscape photographer shooting Milky Way sequences, the aluminum model handled 20lbs of camera equipment with zero vibration (even when a 25mph wind kicked up at 2am).
Key advantages for content creators:
- Sets up in under 90 seconds even in fading light (no fumbling with knobs)
- Compact design (water bottle size) means it fits in any vehicle's odd spaces
- The single adjustment ring on the ball head allows precise framing while wearing gloves
- Center column positions allow tabletop shooting at perfect eye level for seated creators
When it shines: Solo creators who move frequently between locations and need reliability without bulk. The photographer I mentioned earlier used it for 3 weeks straight across desert, forest, and mountain environments without a single stability issue.
JOBY GorillaPod 3K Kit: The Improv Master
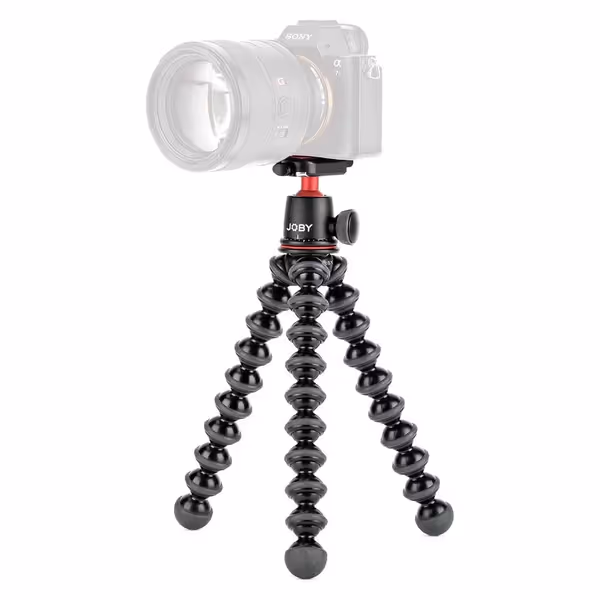
Joby GorillaPod 3K Kit
Flexible, modular tripod for compact cameras, supporting up to 6.6lbs.
$49.99
Max. Supported Weight6.6 lbs (3 kg)
Max. Supported Weight6.6 lbs (3 kg)
Pros
Flexible legs grip, wrap, or stand on any surface.
Precise 360° panning and 90° tilt with bubble level.
Cons
Mixed feedback on long-term sturdiness and leg durability.
Customers find the tripod's build quality good and appreciate its lightweight design, with one customer noting it can support up to 3kg. Moreover, they like its functionality and angle adjustment capabilities. However, the sturdiness and durability receive mixed feedback, with several customers reporting that the legs broke off after short use. The flexibility aspect also gets mixed reviews.
Customers find the tripod's build quality good and appreciate its lightweight design, with one customer noting it can support up to 3kg. Moreover, they like its functionality and angle adjustment capabilities. However, the sturdiness and durability receive mixed feedback, with several customers reporting that the legs broke off after short use. The flexibility aspect also gets mixed reviews.
Sometimes you need to shoot from angles standard tripods can't reach. The GorillaPod 3K Kit shines when you're working with unconventional terrain or need to anchor your camera to unexpected surfaces.
Key advantages for content creators:
- Wrappable legs secure to rocks, branches, or tent poles for unique angles
- Works with GripTight PRO Mount for smartphone creators needing flexibility
- Entirely Made in Italy with medical-grade materials that withstand extreme conditions
- Bubble level ensures perfect horizon alignment even on sloped terrain
When it shines: Food creators shooting table-level videos or adventure vloggers who need to anchor cameras to vehicles or natural features. One client used it to film herself preparing breakfast by wrapping it around her camp stove tripod (perfect stability without a separate surface).
Gitzo GT2542 Mountaineer: The Professional's Workhorse
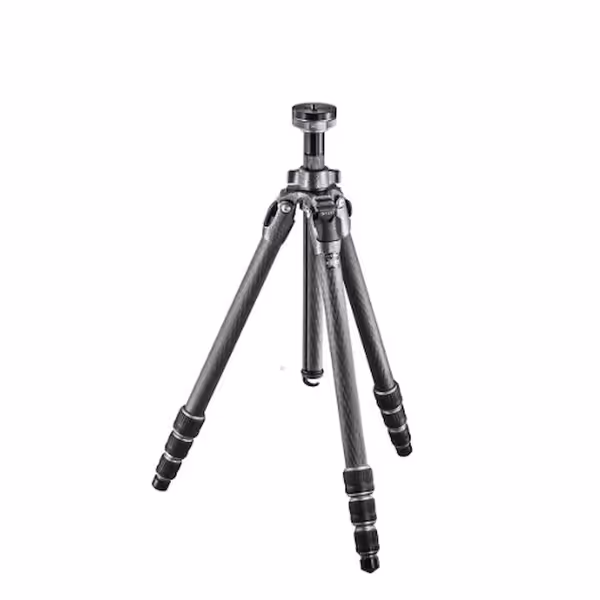
Gitzo GT2542 Mountaineer Tripod
Unmatched stability and lightweight design for critical shots.
$1333
4
Max Load Capacity39 lbs
Max Load Capacity39 lbs
Pros
Superior stability: no wobble or play.
Lightweight carbon fiber construction.
Cons
Higher price point.
Customers find the tripod stable, with one noting it has no wobble or play in any part, and they consider it the best they've used. Moreover, they appreciate its lightweight design.
Customers find the tripod stable, with one noting it has no wobble or play in any part, and they consider it the best they've used. Moreover, they appreciate its lightweight design.
When ultimate stability matters more than portability, the Gitzo GT2542 delivers professional-grade performance. This is for creators who prioritize rock-solid stability over lightweight convenience.
Key advantages for content creators:
- Carbon Exact tubes provide superior vibration damping for long-exposure shots
- Ground Level Set mechanism allows shooting from just 5.91 inches off the ground
- 39lbs capacity handles heavy cinema rigs without compromise
- Built-in hook lets you add weight for extreme wind resistance
When it shines: Professional creators shooting commercial work where pixel-perfect stability is non-negotiable. The reversible center column is perfect for macro photography requiring precise low-angle shots.
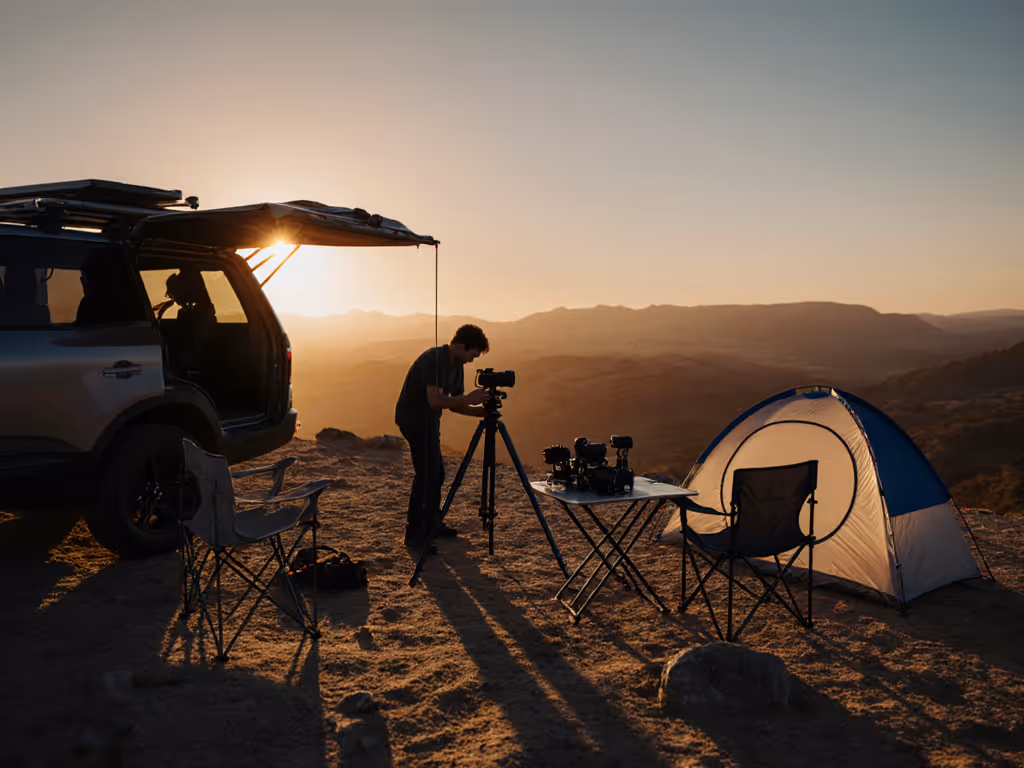
Step 4: Integration into Your Camp Layout (The 7-Minute Sequence)
Your videography camping equipment must integrate seamlessly with your overall camp. Here's how to position it for maximum efficiency:
0-2 minutes: Establish your windbreak first
- Position your stable shooting platform behind your largest wind barrier (vehicle, tent wall, natural feature)
- If no natural barrier, set up a 4x6 tarp diagonally upwind of your shooting area For wind, rain, and sun contingencies, see our weather-tough setup strategies.
3-4 minutes: Position your primary shooting station
- Ensure your tripod's maximum height aligns with your seated eye level
- Place within arm's reach of your gear bin but outside main traffic paths
- Angle so your back isn't to the direction subjects will enter frame
5-7 minutes: Create contingency stability points
- Place secondary GorillaPod anchors at 2 alternative shooting positions
- Position sandbags or water bottles near primary tripod for quick weight addition
- Mark with glow sticks where additional lighting will go after dark
This sequence ensures your camera setup becomes part of your camp's intentional flow, not an afterthought that disrupts everything.
Step 5: The 12-Minute Setup Sequence for Content Creators
Following this choreography transforms chaotic arrival into calm creation:
Minute 0-3: Priority Zone Setup
- Unload your stable shooting platform immediately
- Position it at your predetermined location
- Secure with 2 stakes minimum (even if "temporary")
- Pro tip: Keep your tripod assembled in trunk (reduces setup time by 40%)
Minute 4-6: Support System Integration
- Position your camera chair at exact height matching your shooting platform
- Clip together backup chairs within reach but out of frame
- Stage phone/tablet on secondary stable surface for monitoring
Minute 7-9: Workflow Zone Configuration
- Place your gear caddie at 45-degree angle to shooting position
- Position lighting at exact distance needed for your first shot
- Set up windbreaks between your platform and direction of prevailing wind
Minute 10-12: Final Stability Check
- Test platform stability with full camera weight
- Adjust leg positions based on terrain (sand plates if needed)
- Verify eye-level alignment with seated position
- Do a "shake test" to identify any vibration points If wobble persists, follow our camp furniture maintenance guide to tighten joints and restore stability.
The Calm After the Choreography
Last month, I watched a wildlife photographer capture perfect hummingbird footage at dawn, her camera perfectly stable on the Peak Design Travel Tripod, her chair positioned for hours of comfortable shooting. No frantic adjustments. No missed shots. Just pure content creation. That's the power of intentional content creator camping gear.
When I arrived at that desert campsite with my twin toddlers fighting sleep as winds picked up, I knew our success depended on more than just gear selection, it depended on how that gear worked together in sequence. I scripted the setup in my head while driving: windbreak table first, chairs clipped together, camera platform pre-positioned. Those five minutes of choreography gave us calm for the next 48 hours.
Setup is choreography
Your camera sees everything, including the chaos behind the scenes. When your photography camping furniture works as a system, you're not just creating stable footage; you're creating space for authentic moments to unfold. The most compelling content isn't captured by the most expensive gear, but by the creator whose setup disappears into the background.
Your Actionable Next Step
Before your next shoot:
- Test your current setup on uneven ground, then record how much vibration appears in footage
- Measure your ideal seated eye height to your shooting surface (critical for comfort)
- Time your setup sequence, and if it takes more than 12 minutes from trunk to stable camera, you need better choreography
Then, choose one improvement to implement before your next trip. Swap that flimsy table for a stable shooting platform. Position your tripod before unpacking personal gear. Start with one small change that creates calm where chaos once lived. Your audience will see the difference, and so will you.
Choreograph setup, and the whole weekend slows down.
Related Articles