Digital Nomad Camping Furniture: Stable Setup
By Nadia Okoye • 12th Apr
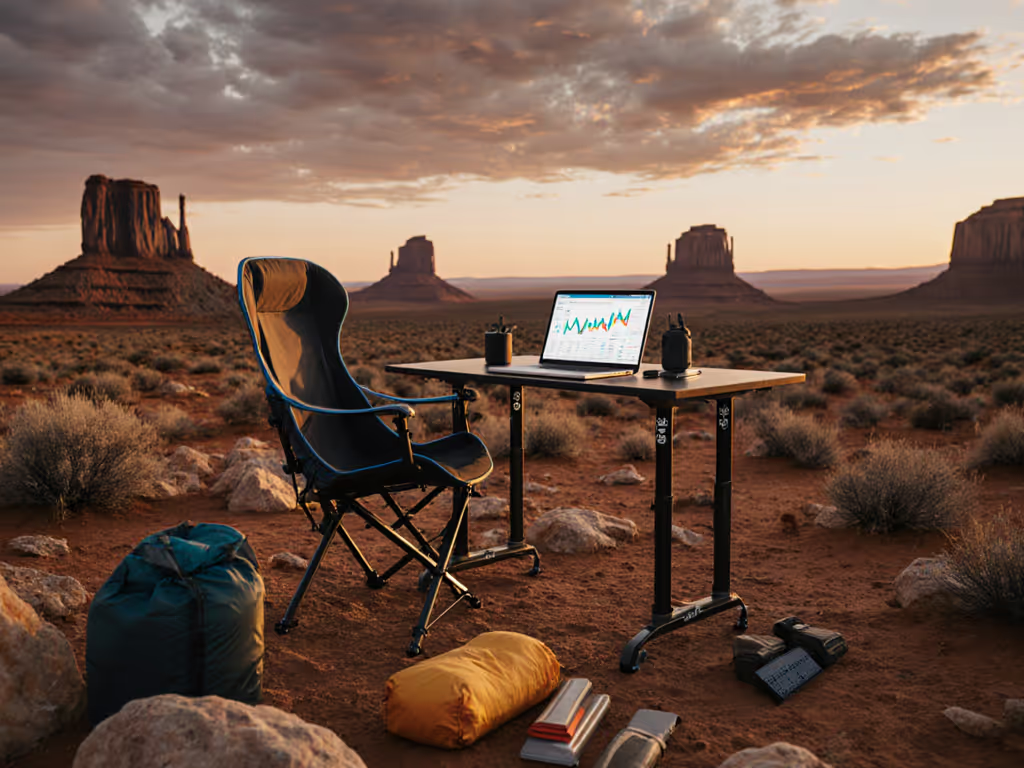
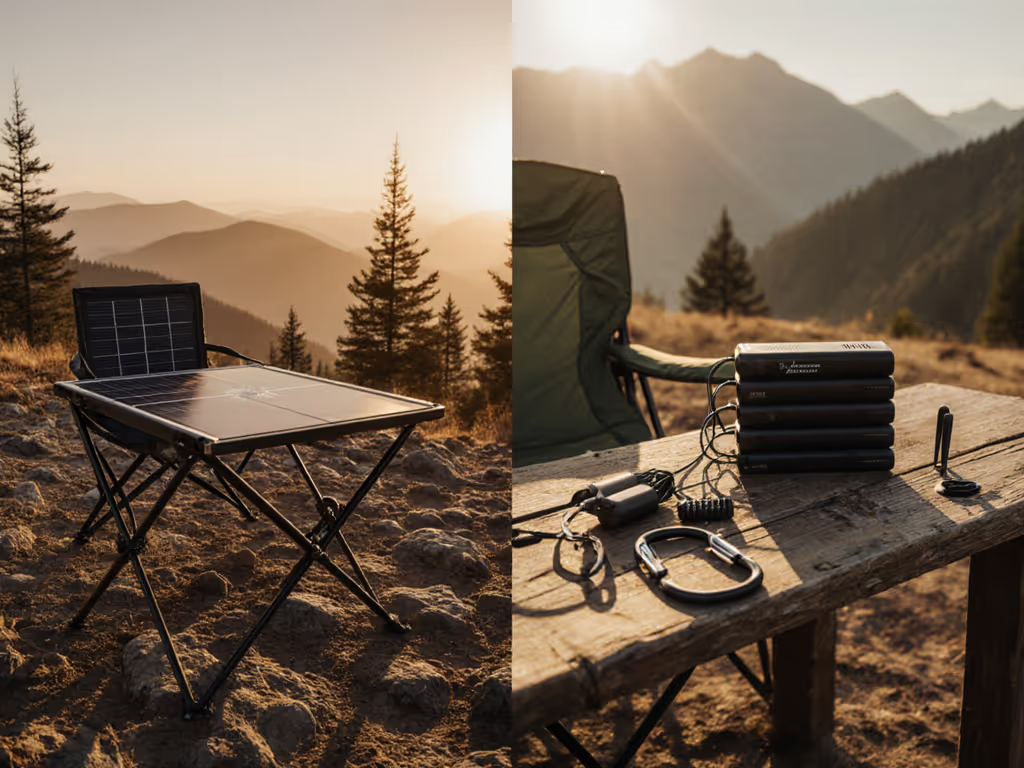
Working from a campsite means your digital nomad camping furniture and outdoor workspace seating comparison aren't just comfort preferences (they're productivity infrastructure). When your table wobbles on uneven ground or your chair height doesn't match your desk surface, eight hours of emails and spreadsheets become a posture nightmare. For gear tailored to remote work, see our digital nomad outdoor office kits. The difference between a frustrating weekend and a functional remote basecamp is choreography: knowing exactly how each piece fits, what comes out first, and why sequence matters as much as the gear itself.
Understanding Your Nomad-Camp Hybrid Needs
Digital nomads face a dual constraint that traditional campers often skip. You need remote work camp setups that deliver ergonomic workspace stability, yet you're working within trunk space, uneven terrain, and changing daylight windows. A collapsible chair that lounges by the fire isn't enough; you also need a chair-and-table combination that lets you work for three hours without neck strain or wobbling risk spilling your coffee onto your laptop.
The core challenge: standard camping furniture prioritizes packability and lounging comfort. Nomad setups prioritize durability, height compatibility, and footprint stability. Most campers reach for a lounge chair and folding table without measuring whether the seat-to-table height relationship supports proper posture. A 16-inch lounge chair paired with a 28-inch table leaves your elbows jammed up near your shoulders (fine for campfire snacking, but brutal for laptop work[6][7]).
Your real goal isn't just "comfortable seating." It's a modular, predictable workspace that stands firm on sand, rock, or grass, assembles in under 15 minutes, and leaves room in your vehicle for the cooler, water, and cooking gear.
Step 1: Audit Your Terrain and Workspace Blueprint
Before buying a single chair, map your camping scenarios. Where do you work? What surfaces will you face?
Define your basecamp zones:
- Workspace zone: Where you'll sit for focused work, typically a 4-foot radius with table and chair, ideally sheltered from wind and afternoon sun.
- Dining zone: A larger table area for meals and group time, 6-8 feet from workspace.
- Lounge zone: Lower seating for downtime and socializing, separate from the work table to create psychological boundaries.
Scout your typical terrain:
- Beach sand? Legs sink unless feet have wide, flat bases or sand plates.
- Rocky or uneven ground? Adjustable legs or wobble-tolerant designs become essential.
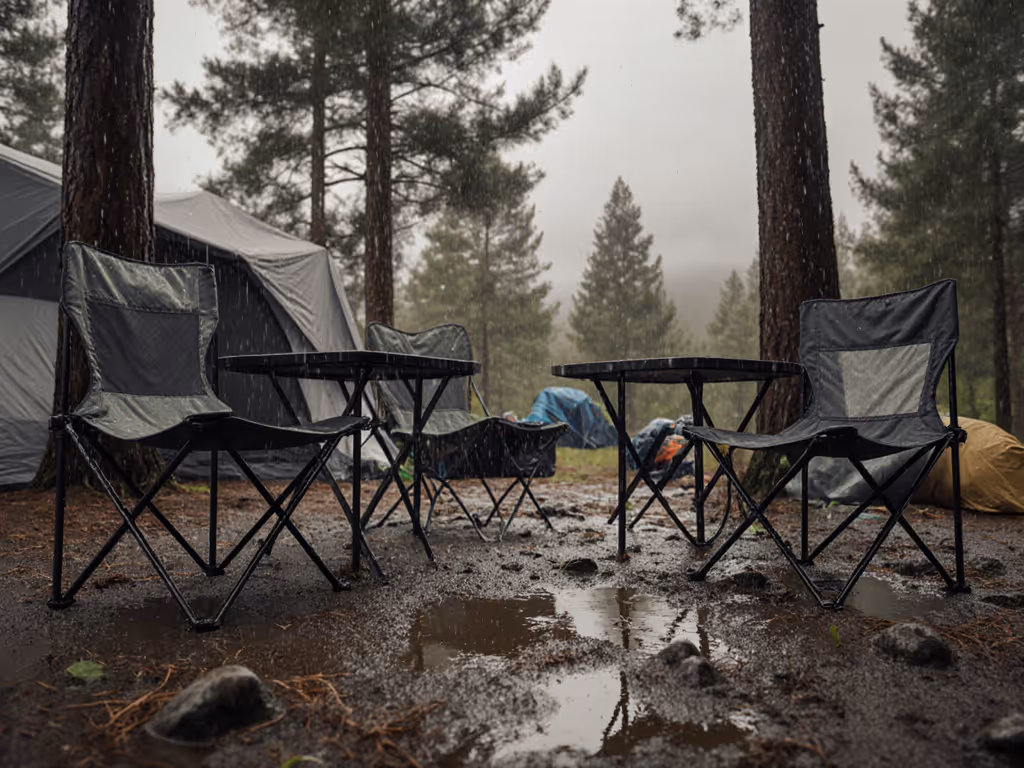
- Windy sites? Tables need tie-down loops, weighted feet, or cross-bracing; lightweight chairs can topple.
- Damp grass? Moisture-resistant materials and rubber feet prevent mold and ground contact damage.
Take 10 minutes to photograph or sketch your usual setup area. Measure ground slope with a simple level. This data guides every purchase decision and prevents the "I bought this for beach but it's useless on rock" regret[6][7].
Step 2: Right-Size Your Chair-to-Table Height Pairing
This is the single most critical nomad-specific step. Standard dining tables sit 28-30 inches high; standard camping chairs vary wildly from 14 to 20 inches seat height. Mismatch creates posture strain within two hours.
Measure your ideal workspace geometry:
- Sit in a chair you own, set elbows at 90 degrees, measure from seat to elbow.
- Sit at a desk or table where you currently work comfortably; measure from seat to tabletop.
- The gap should be 10-12 inches. If your gap is 15+ inches, your shoulders hunch. If it's under 9 inches, your wrists bend unnaturally.
Your chair options by seat height:
- 14-16 inches (low loungers): Great for fireside relaxation, useless for work tables. Include one for off-hours comfort but don't rely on it for office hours.
- 18-20 inches (mid-height dining chairs): The Goldilocks zone for nomads. Pairs comfortably with a 28-30 inch table for most adults. GCI Outdoor's freestyle and comfort models sit in this range[1][2].
- 20-22 inches (tall office-style chairs): Necessary for taller campers (5'10"+) or if using lower tables (24-26 inches) for standing-desk flexibility. DOD Sugoi and premium brands like Helinox address this niche[1].
Pro timing checkpoint: Before committing to height-incompatible furniture, test the combo at a friend's house or REI demo event. Spend 90 minutes working on the laptop. If your back aches or you feel slouched, the height is wrong (no amount of rationalization changes that[6][7]).
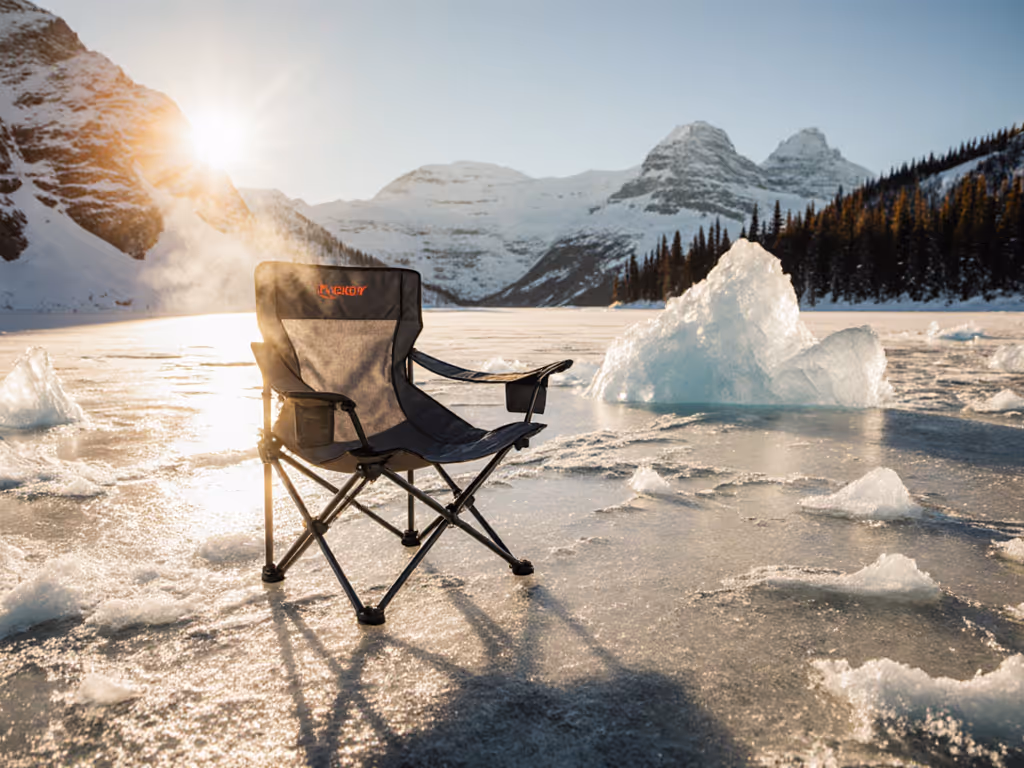
Step 3: Assess Stability - Ground Engagement and Leg Design
A beautiful chair becomes a $150 paperweight if its legs sink into sand or totter on rock. Stability is not negotiable for a workspace[5][7]. For comparative data, review our stability-tested folding camping tables.
Evaluate leg design:
- Narrow feet (1-2 inches): Standard on ultralight backpacking chairs. Fine for hard-packed earth or smooth grass; useless on sand or gravel, legs sink, table tilts.
- Wide, flat feet (3-5 inches): Sand plates or flat aluminum feet spread load, prevent sinking, and increase stability on soft ground. Brands like Darche and Front Runner integrate these by default[3].
- Adjustable legs or leveling feet: Some premium tables (Helinox, some DOD models) include screw-adjust legs that accommodate slopes up to 5-10 degrees[1]. This is essential for rocky or rolling terrain.
- Bracing or cross-support: Tables without internal X-bracing or diagonal supports feel flexible under load. Solid construction shows in weight distribution; a 40-pound table with poor triangulation still feels flimsy under a laptop and coffee cup.
Stability test checklist:
- Place table on uneven ground. Push from each direction at table height. Legs should not lift or shift more than a quarter-inch.
- Sit in the chair, bounce gently. Frame should not creak or flex noticeably.
- On sand or soft soil, legs should not sink more than half an inch after five minutes of sitting.
- In wind (even 12 mph), table should not rock or sway if properly weighted or staked.
Timestamp decision point: If a chair or table fails any of these checks, skip it (no matter how packable or affordable). A wobbly workspace destabilizes your laptop, your posture, and your confidence. Better to spend $30 more upfront than waste setup energy troubleshooting instability every morning[3][5].
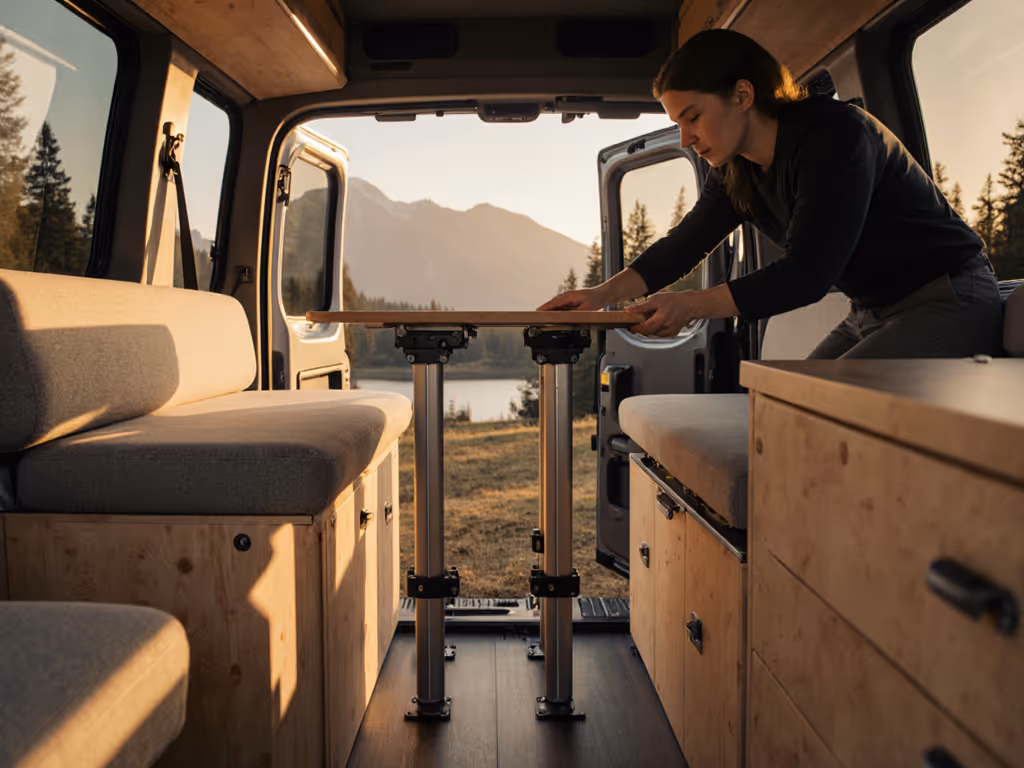
Step 4: Map Modular Scalability - Single Nomad to Group Camp
Your furniture must adapt. If you want plug-and-play options, compare modular camping furniture systems designed for height harmony and fast reconfiguration. Arriving solo? Use a single compact chair and small side table. Two guests arrive Friday? Add a second dining chair and expand to a 4-foot table. Kids or hammock crew join? Swap chair positions, add a secondary lounge corner, integrate children's-height stools without breaking your adult workspace.
Design your core + expansion kit:
Core kit (1-2 person basecamp):
- 1 office-height chair (18-20 inches)
- 1 compact side table (18-24 inches wide, ~24 inches tall) for workspace
- 1 small accent table or shelf for gear (headlamp, water, snacks)
Expansion kit (add 2-3 guests):
- 1-2 additional dining chairs, same height as primary
- 1 larger dining/gathering table (4-5 feet) positioned 8 feet from workspace
- 1 low lounge seating element (optional, for off-hours)
Scaling principle: Every added piece should slot into a labeled bin or nest within existing furniture. When you pack down, the reverse choreography should take 10 minutes: pick up lounge zone first, then dining tables, then chairs, then workspace surface. Order matters. Nesting prevents forgotten pieces and reduces cognitive load on setup nights[7].
Compatibility mandate: All chairs must be the same seat height (or differ by only 2 inches). All tables must be the same height class (24-26 inches for standing-desk style, or 28-30 for seated dining). Mismatches feel chaotic and create micro-frustrations: one seat too low, one table too high, constant postural adjustments. This is where most DIY camps fail (they accumulate chairs and tables without a unifying metric).
Step 5: Prioritize Pack Volume and Carry Weight
Your trunk or van bed is finite. Furniture must earn its space against coolers, camp stoves, water, and sleep gear.
Measure your true pack profile:
- Deployed dimensions: The footprint it occupies when assembled (e.g., table is 48" x 30" x 28" tall).
- Packed dimensions: The volume it consumes in your vehicle. A table that packs to 48" x 30" x 3" is drastically different from one that packs to 48" x 30" x 9"[1].
- Carry weight: Can you lift and transport it solo from parking to campsite? Anything over 25 pounds becomes a two-person job on a walk-in.
Sample efficient loadout (for 2-4 people, mixed lounge and work):
- 2 office-height chairs, 4 lbs each = 8 lbs, packs to ~16" x 12" x 6" each
- 1 compact workspace table, 8 lbs, packs to ~28" x 18" x 4"
- 1 dining table, 15 lbs, packs to ~48" x 28" x 5"
- 1 side table/shelf, 6 lbs, packs to ~20" x 14" x 3"
- Total furniture: 37 lbs, approximate packed volume: 8 cubic feet
Most full-size SUVs have 20-40 cubic feet of usable cargo space after seats are down. This loadout consumes a third of that, leaving room for cooler (30 lbs, ~2 cubic feet), stove, sleeping gear, water, and contingency items[3][5][6].
If your furniture pack exceeds 50 lbs or 12 cubic feet, you're choosing bulk over utility. Return to step 2 and swap pieces for lighter, flatter alternatives, or accept fewer multi-use items and more focused, single-purpose pieces.
Step 6: Choreograph Your Setup Sequence
Here's where setup is choreography (a timed, predictable sequence that feels calm, not frantic).
15-minute deploy from arrival to productive workspace:
Minute 0-1: Ground zero
- Kill the engine, scout the spot visually (wind direction, slope, shade).
- Clear debris and identify your workspace zone (most level, least wind-exposed corner of your area).
Minute 1-3: Stabilizers first
- Unload and set down your workspace table (the centerpiece). Place it on flat ground. If ground is sloped, use adjustable feet or level it by eye.
- Place your office chair nearby; don't sit yet.
Minute 3-5: Secondary surfaces
- Set a side table or shelf to the right of your chair (for water, headlamp, power bank).
- If arriving with a guest, stage the second chair on the opposite side of the workspace table, creates a "his-and-hers" dual-laptop vibe without clutter.
Minute 5-9: Lounge and dining zones (if space and group size allow)
- 8 feet away, deploy the dining table (perpendicular to workspace to signal zone separation).
- Stage 2-3 dining chairs around it; don't fully organize until people settle.
- Add a low lounge element (blanket, hammock, or low chair) 6 feet to the side (third zone).
Minute 9-15: Anchors and accessories
- Stake or weight tables if windy (guy-lines, heavy rocks, or sandbags).
- Set headlamp on the side table; position cooler within arm's reach of dining zone.
- Step back. Workspace is ready. Lounge is ready. Meals will happen at their table. Movement is fluid, zones are clear.
This choreography mirrors what works: we arrived at dusk with overtired twins and rising wind. I scripted a five-minute layout: windbreak table first, cots staged, chairs clipped together. The kids settled with snacks while stakes went in. That night convinced me that a calm camp emerges from sequence, not from having the "right" gear alone. The feeling carries through the entire trip[6].
Teardown (same sequence, reversed):
- Minute 0-2: Lounge zone into bins (first out, first in).
- Minute 2-5: Dining table, chairs, and accessories into labeled cases.
- Minute 5-10: Workspace table and side surfaces last (you're using them until the end).
- Minute 10-12: Nest everything back into your vehicle, tallest items first, flattest last, cooler on top.
Total pack time: 12 minutes. Every piece has a home. Nothing is forgotten.
Step 7: Verify Durability, Weight Ratings, and Warranty
Nomad camps absorb repeated setup cycles. A piece that wobbles in month three is a sunk investment. Use our camp chair maintenance checklist to prevent wobble and extend lifespan.
Non-negotiable durability checks:
- Material resilience: High-tenacity nylon (like the Big Agnes Big Six's Robic fabric) resists tear and holds up over 50+ deployment cycles[1]. Cheap polyester degrades under UV and moisture; avoid it.
- Weight rating: A chair rated 250 lbs can technically hold you at 200 lbs, but it operates at 80% capacity (frame flex increases, lifespan shortens). Choose a chair rated 100+ lbs over your body weight. Tables should be rated 3-5x your intended load (two people sitting + laptop + coffee + snacks)[2].
- Warranty and repair parts: Reputable brands (GCI, Helinox, Darche, Front Runner, Yeti) sell replacement straps, leg assemblies, and fabrics[1][2][3]. No-name brands disappear; you're stuck with a broken chair and no parts.
- Metal type: Aluminum is lightweight and corrosion-resistant; steel is heavier but stronger. For sand/salt spray, anodized aluminum or stainless fittings are essential[3].
Pro research timestamp: Before purchase, search "[brand] warranty" and "[product] replacement parts." If you can't find a manual or spare parts online, the brand won't support you mid-season. Buy from retailers with return policies (REI, Amazon, Backcountry) so you can test-drive at home[1][2].
Step 8: Test Your System at Home - Before Your Trip
This is the most-skipped step and the most important.
Home test protocol (2-3 hours minimum):
- Set up your full furniture kit in your backyard or garage, as if at camp.
- Work on your laptop at the workspace table for 90 minutes. Type emails, attend a video call, take notes. Feel your posture. Feel the table stability.
- Move to the dining area. Eat a meal. Do the chairs feel stable? Can you reach items without leaning?
- Switch chairs. Test comfort over 30 minutes. Does your lower back ache? Do your legs fall asleep?
- Try to pack it all back into your vehicle. Does it fit? Are pieces nested logically?
- Time the entire setup and teardown. Aim for 15 minutes deploy, 12 minutes pack.
If anything fails this test, return or swap it before your first trip. Discovering a wobbly table or mis-matched height at a windswept campsite is too late[6][7].
Your Actionable Next Step: Build Your Core Kit
Stop researching and start deciding. Pick your anchor piece: a workspace table that's stable, compact, and fits your vehicle. Measure its height. Then find two chairs, one office-height for work, one lower for lounge, that pair with that table. Verify they nest or pack flat.
Order or borrow these three pieces for a home test this week. Work at that table for 90 minutes. Pack it into your car. If it feels right, stable, sized well, fits your trunk, then expand: add a dining table and one guest chair.
Choreograph setup, and the whole weekend slows down. You're not scrambling Friday evening; you're not troubleshooting wobbly legs or backward posture on Saturday. Setup is choreography, and choreography is confidence. Build your system now so your next camp (whether solo basecamp or group gathering) unfolds on your timeline, not in chaos.
Get those three pieces home this week. Set them up. Work from that table for 90 minutes. You'll know immediately if this foundation holds. Then order with confidence.