Modular Van Furniture: Reconfigure in Minutes
By Diego Matsuura • 11th Mar
When your camp needs to shift from a six-person lounge to a four-person dining setup in the same footprint, or when seat height finally aligns with table height and someone actually settles in for the full meal, that is modular van life furniture at work. Not because the cushions are soft, but because the geometry is right.
The best modular van camping systems aren't built on comfort theater. They're built on measurable angles, heights that match your body, and spacing logic that lets you reconfigure in minutes rather than hours. This guide walks you through how to assess your van's dimensions, choose modules that actually fit your group and terrain, and build a camp that supports long-sit comfort (whether that's a three-hour dinner or a rainy-day card game).
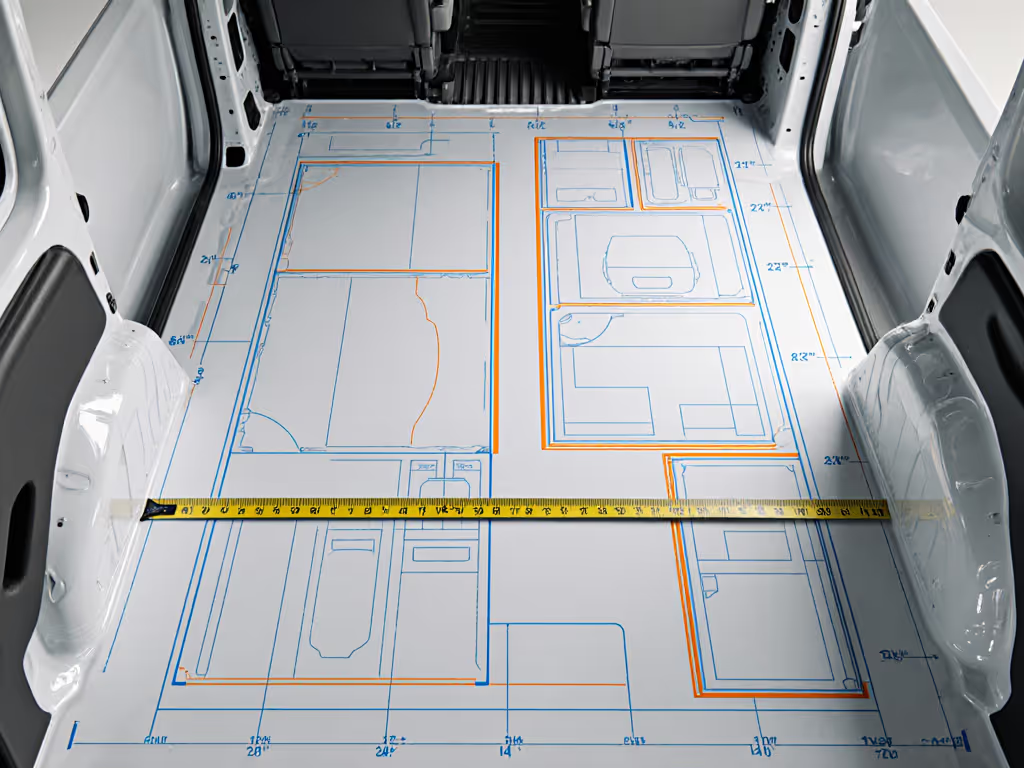
Step 1: Measure Your Van and Map Your Zones
Before you select a single piece, understand your container. This is where comfort begins, with honest numbers.
What you need:
- Internal length, width, and height (measure floor to ceiling, accounting for roof curves)
- Wheelbase length and axle positions
- Door opening width and height
- Any obstacles: wheel arches, heating vents, electrical panels, or overhead rails
Don't estimate. Tape measure. Wheelbase and internal width dictate everything that follows. A VW Transporter T6 / T6.1 interior width, for example, is roughly 5.9 feet, tight enough that a 3-foot bed plus a 1-foot aisle plus a 1-foot galley leaves almost no margin for error. A Transit Custom, by contrast, offers roughly 6.5 feet of width, unlocking deeper countertops and more flexible seating arrangements[1]. If width and storage feel tight, see our space-saving camp furniture guide.
Next, define your zones, not just "bedroom" and "kitchen," but functional activity areas:
- Dining zone: table height (typically 28-30 inches), surrounding seat height (17-18 inches for long-sit comfort), and knee clearance (12+ inches from seat edge to table edge)
- Lounge zone: seat height (16-17 inches for lounging, slightly lower than dining), back support, and arm-rest height if included
- Kitchen zone: counter height (34-36 inches is standard; taller users may need 37-38 inches), under-counter storage for appliances, and open floor space for prep
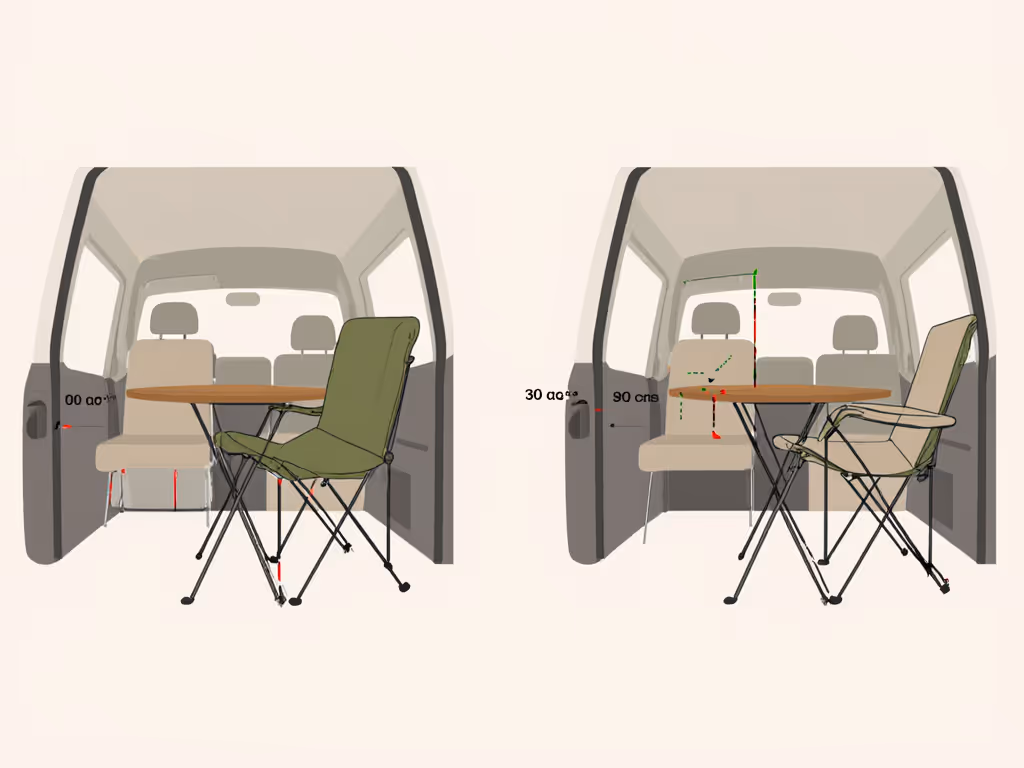
This zoning logic, not luxury, determines whether your camp flows or feels fragmented. During a three-night beach trip, I watched my dad shift between lounge and dining every 30 minutes, standing to stretch because his shoulders tensed. The issue wasn't padding; it was geometry. The lounge chair was 16 inches high, the dining seat was 14 inches, and the table rode 32 inches (creating a reach angle that fatigued his shoulders within an hour). A 1-2 inch adjustment in seat height and a lower-profile table frame changed everything. He stayed for dessert and stories[2].
Measure how you sit. If your knees are significantly taller or shorter than average, or if you're a tall camper, note that now. Modular systems work best when you match modules to your body, not force your body to modules.
Step 2: Understand Modular System Types and How They Reconfigure
Modular van conversion seating and furniture systems come in three main architectures, each with different reconfiguration flexibility. For a side-by-side breakdown of real-world kits, see our modular systems comparison.
Built-In Frame with Swappable Tops
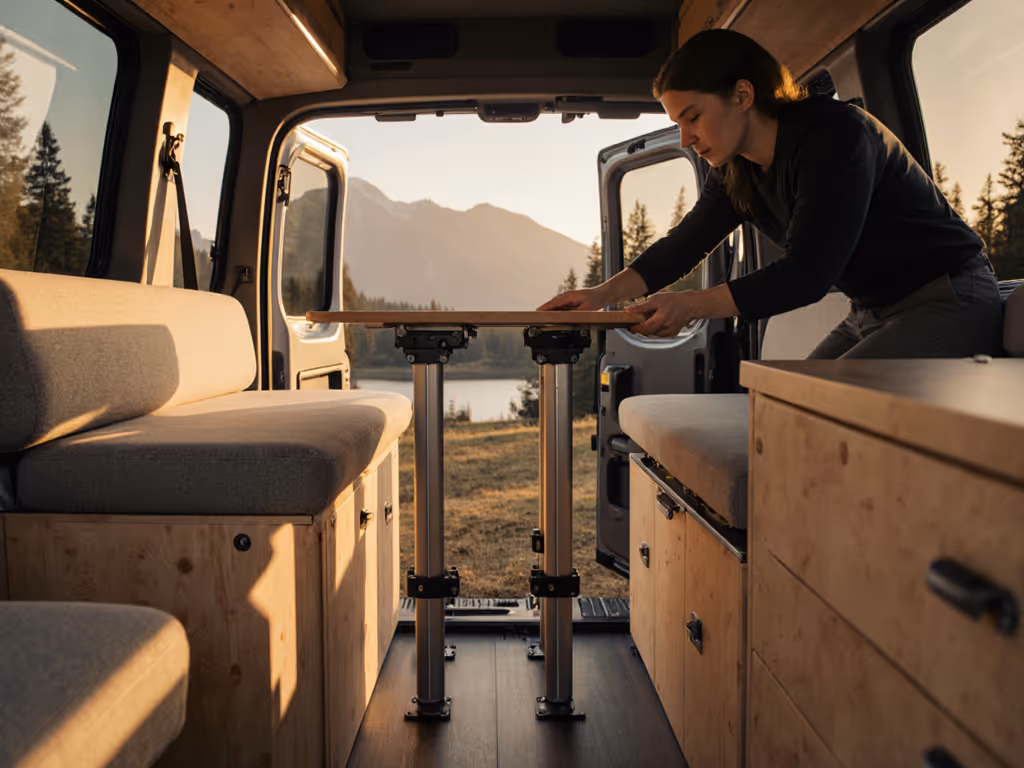
A fixed structural frame (usually plywood or composite, anchored to the van floor) accepts different module types: bed cushions, bench seats, table tops, or storage drawers. The base stays put; you swap the upper components.
Pros: Strong, stable, minimal wobble, easy to add or remove individual modules. Cons: Requires careful initial measurement; less portable if you switch vans later. Reconfiguration time: 5-10 minutes for common swaps (seating to bed, adding a leaf table). Best for: Weekend van campers and overlanders who stay in one van long-term.
Fully Modular Stacking/Nesting
Each module (bed platform, bench seat, table, storage box) is freestanding, sized to fit specific van dimensions, and can be repositioned or nested into others for packing. Examples include modular kits where a bench box doubles as a bed base and stacking ottoman[3].
Pros: Highest flexibility; works if you switch vans; easy to scale up/down for group size. Cons: More moving parts, potential for micro-wobbles if bases aren't perfectly level; requires clear labeling and a mental map of how pieces fit. Reconfiguration time: 10-15 minutes for major resets; less if you're just adding a side table. Best for: Families, friend groups of 4-8, trip captains who host varied group sizes.
Hybrid: Semi-Fixed Base + Modular Toppers
A lightweight frame bolts to van floor or tie-down points; bed platforms and seating cushions clip or slot in. Modular space-saving van furniture like this balances stability and adaptability[4].
Pros: Stable as built-in; flexible as modular; middle ground on reconfiguration. Cons: Bolt points must be precise; adding or removing a module still requires checking alignment. Reconfiguration time: 8-12 minutes. Best for: Couples, small families, basecamp enthusiasts who stay 3-7 days per site.
Step 3: Match Seat-to-Table Geometry for Long-Sit Comfort
This is where most off-the-shelf camping setups fail. A standard dining chair is 18 inches high; a standard table is 30 inches high (a 12-inch gap, which is adequate). But if your lounge seat is 16 inches (for TV-height comfort) and your dining seat is 18 inches (for table height), moving between zones feels wrong. Your body is already at two different heights; your shoulders and elbows follow, and fatigue compounds.
The principle: Seat height should stay within a 2-inch band if the same person will use both zones. If you're adding a guest of significantly different height, a side table or ottoman can bridge the gap.
Common mismatches to avoid:
-
Lounge at 16 inches, dining at 18 inches, table at 30 inches. Diagnostic: When you sit at the table, your elbows are level with the tabletop edge, requiring you to reach slightly down and forward. Over a 2-hour meal or card game, your shoulders creep toward your ears. Solution: lower the table to 28 inches, or raise the dining seat to 18.5 inches.
-
Hammock or cot at 24-26 inches off ground, adjacent seating at 17 inches. Diagnostic: The height discrepancy breaks conversation; lounging and sitting feel segmented. Solution: Use a cot height that matches your camp's primary lounge height (17 inches for sitting, 26+ inches only if it's a standalone sleep/lounge hybrid).
-
Kids and adults in the same zone. Children (8-12 years) are typically 2-4 inches shorter; their natural dining seat height is 15-16 inches. If your modular system has a single seat height of 18 inches, kids will struggle with posture and eat in 10 minutes rather than 45. Solution: Include a booster or a dedicated lower-profile bench for kids, or use a modular van interior design with tiered seating heights. For growing campers, see our height-adjustable kids' camp chairs to keep posture dialed across ages.
How to test before you buy: If a vendor offers the kit, request seat and table dimensions in writing. At home, use a folding chair at the stated height and a card table at the stated height. Sit for 30 minutes. Can you rest your forearms on the table naturally? Are your knees at least 12 inches from the table edge? Does your back feel supported, or are you reaching/scrunching? If it feels off in your living room, it will feel worse at camp after a long day.
Step 4: Choose Materials and Verify Stability on Your Terrain
A modular system is only as stable as its feet and its base materials.
Material choice impacts stability and reconfiguration:
Plywood and hardwood: Affordable, customizable, can be CNC-cut to fit van curves with precision. Marine-grade plywood resists moisture. Heavy (full bed base + bench can exceed 80 lbs), but provides excellent stability on uneven ground because mass anchors it. Best for van-based kits where weight isn't portable[1][2].
Composite/aluminum and lightweight ply: Lighter (30-50 lbs for equivalent size), easier to move between zones or nest for packing. Trade-off: less resistance to wobble on sand, loose soil, or wind. Requires feet designed for soft ground (wider feet, stakes, or sand plates)[5].
Foot design for terrain:
- Rock and hard soil: Standard feet or rubber pads; minimal issue.
- Sand and loose ground: Wider feet (4-6 inch diameter), weighted feet, or sand plates that spread load. Standard legs sink 2-4 inches, destabilizing tables and beds. If your table still wobbles on soft ground, check our stability-tested folding tables to see which designs resist tipping.
- Wet grass or damp ground: Feet should be sealed wood or composite (not bare plywood, which absorbs moisture); consider removable felt pads to reduce contact area.
- Windy sites: Lower center of gravity (wider, lower stance), cross-bracing on tables, and weight distribution matter more than tall, spindly designs.
Verify weight ratings. A modular camping bench rated for 200 lbs per seat works fine for adults (average 150-190 lbs), but if three kids pile on, or if someone sits and a cooler is stored underneath, real load can exceed 250 lbs and cause frame flex or failure[5].
Step 5: Plan Your Reconfiguration Sequence
Modular setups work fastest when you have a repeatable sequence. Think of it like a physical algorithm: arrival setup → lunch/dinner → lounging → sleep → morning pack.
A practical sequence (15-minute deploy):
- Check ground (2 min): Level? Sand? Obstacles? If uneven, identify which feet need shims or sand plates.
- Place base frame or primary module (3 min): If semi-fixed, bolt down. If modular, position the largest piece (usually the bed platform or dining bench).
- Add dining modules (4 min): If a modular system, stack or nest the dining bench and table top into place. Verify no wobble.
- Add lounge/secondary seating (3 min): Ottomans, side chairs, or additional cushions slot in. Adjust if the geometry feels off (seat height relative to adjacent modules).
- Organize storage and side tables (3 min): Small organizers, shade table, or side surface near the lounge and dining zone so phones, utensils, and light are within reach.
Label everything. Use small stickers or paint pens with zone abbreviations (D = Dining, L = Lounge, B = Bed, K = Kitchen). When you break camp or reconfigure, modules snap back to their labeled spots without cognitive load.
Scaling for group size:
If your base setup is 4 people (2 dining chairs, 1 bench, 1 lounge cushion), adding 2 more guests takes 5 minutes if you carry a modular leaf-table and two additional chairs stacked and nested nearby. Removing them is equally fast (no bolts to unbolt, just lift and stack).
Step 6: Test Your Setup at Home Before Your First Trip
This is non-negotiable. Set up your DIY van life setup in your driveway or living room. Live with it for a weekend (eat three meals at the table, play games, relax, sleep if it includes a bed module).
Test checklist:
- Do seat heights feel cohesive when you move between dining and lounge?
- Are there pinch points or sharp edges at kid height?
- Does the table wobble if you press down on a corner? (Acceptable: barely perceptible; unacceptable: visible movement)
- Can you access all storage without moving other modules?
- Are tie-down or bolt points easy to access, or hidden behind cushions?
- When you pack it, does it nest neatly, or do odd shapes waste space?
- Is the total weight per module realistic for two people to carry 20+ feet from parking to site?
If something feels off, you have time to address it before camp. Modular systems are designed for adjustment; use that. Swap a cushion thickness, lower a table by shimming legs, or reorder modules.
Next Steps: Build Your Personalized Module Checklist
Start by identifying your core use case: weekend couples' getaways, family trips with 1-3 kids, friend groups of 4-6, or basecamp setups (3+ nights in one spot). That use case determines:
- How many distinct seat heights you need (typically 1-2 for couples, 2-3 for families with varying ages).
- Module inventory: base bed platform, dining bench, lounge ottoman, side table, storage boxes.
- Terrain priority: windy coastal? Desert? Forest? Choose foot/leg designs accordingly.
- Pack volume budget: know your vehicle's trunk or bed space, and calculate total nested volume of modules.
Next, reach out to one modular furniture vendor or kit provider (many offer custom CNC-cut designs or semi-assembled kits). Share your van's dimensions, group composition, and typical terrain. Ask for a written spec sheet with seat heights, table heights, depth measurements, material callouts, and weight per module. Request a video or photo reference of the system in use (not a studio shot, but real people at real camp).
Then, apply Step 6: test a similar configuration at home. Verify it feels right before committing.
Comfort isn't created by gimmicks or marketing language. Geometry working quietly in your favor (angles, heights, and reach that match your body) is what makes a camp feel like home rather than a chore. Modular furniture accelerates that alignment because it lets you adjust without starting from scratch. Start with honest measurements, choose materials and stability features that match your terrain, and practice your setup at home. Your trip captain instincts will take it from there.